


Every little girl needs a bonnet - even if it's just to play dress up with!
I made this bonnet for Madeline for Plow Days, but then tweaked the pattern and added some ruffles and piping for these babies:
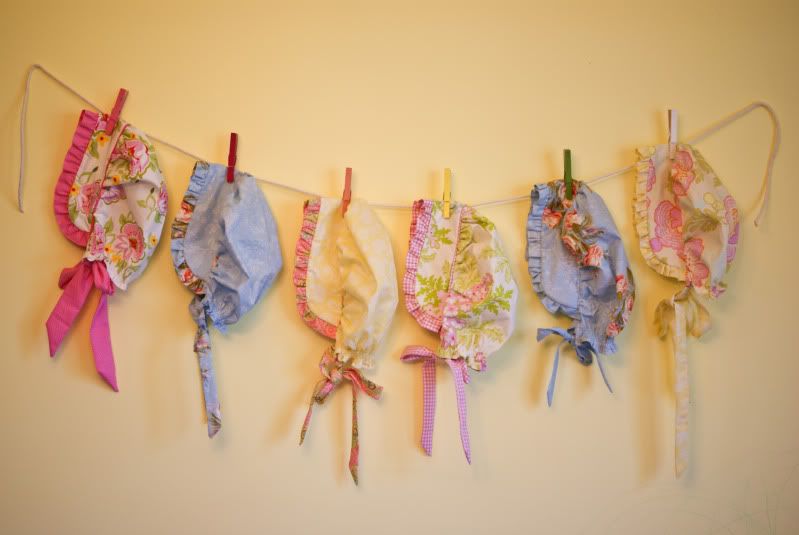
These are really super easy and I'm even going to show you how to shir with elastic thread and make your own piping! As always, I probably included more pictures and instructions than necessary - I know from experience that there is nothing more frustrating than following a tutorial and thinking "I wish they had a picture of that! I have no idea what that means!". As always, feel free to leave questions in the comments, I'll answer them there.

These are really super easy and I'm even going to show you how to shir with elastic thread and make your own piping! As always, I probably included more pictures and instructions than necessary - I know from experience that there is nothing more frustrating than following a tutorial and thinking "I wish they had a picture of that! I have no idea what that means!". As always, feel free to leave questions in the comments, I'll answer them there.
This bonnet will fit most little girls from 2-5 years old.
Ready, set - let's go!
Materials
1/2 yard main fabric
1/4 yard (or less - you may be able to get away with using scraps if you piece strips together, I actually used jelly roll strips I had on hand) trim fabric
elastic thread
thread to match fabric
light to medium weight iron on interfacing
chunky yarn or petite piping
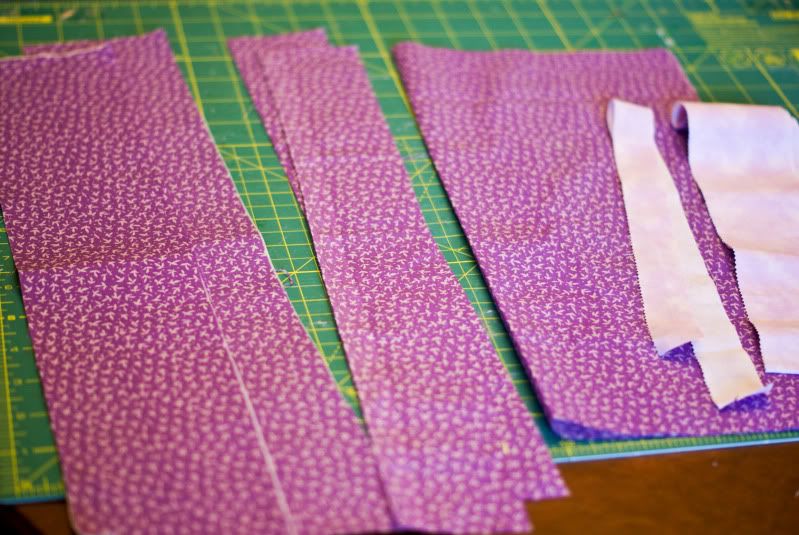
Cut:
From Main fabric:
15 x 15 - cut one
3.5 x 14 - cut two for brim
3.5 x 20 - cut two for ties (alternately, you could use the trim fabric for the ties)
From trim fabric
2.5 x 30 (ish) - cut one for brim ruffle (it's not super crucial to have a particular length here - just as long as it's double your brim length)
1 x 15 - cut one for piping
From interfacing
3.5 x 14 - cut two for brim
1. Fuse your interfacing pieces to the wrong side of the two brim pieces. This will make your bring a little stiffer and not quite so floppy.
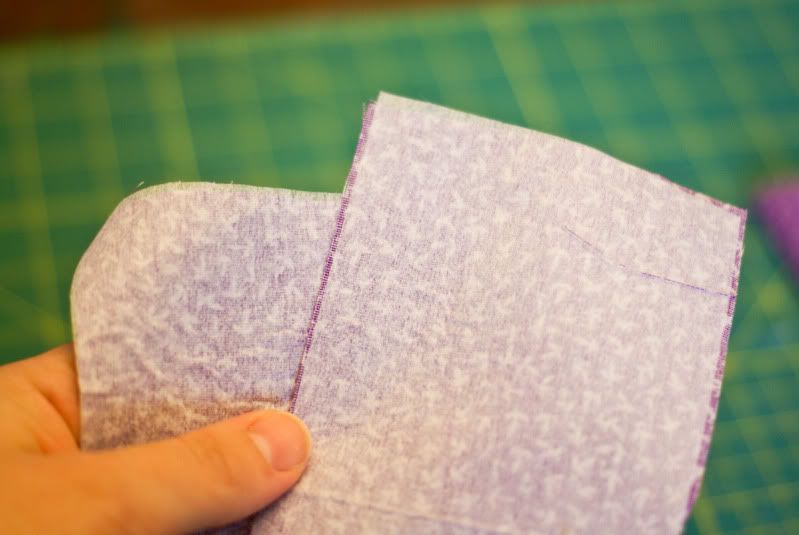
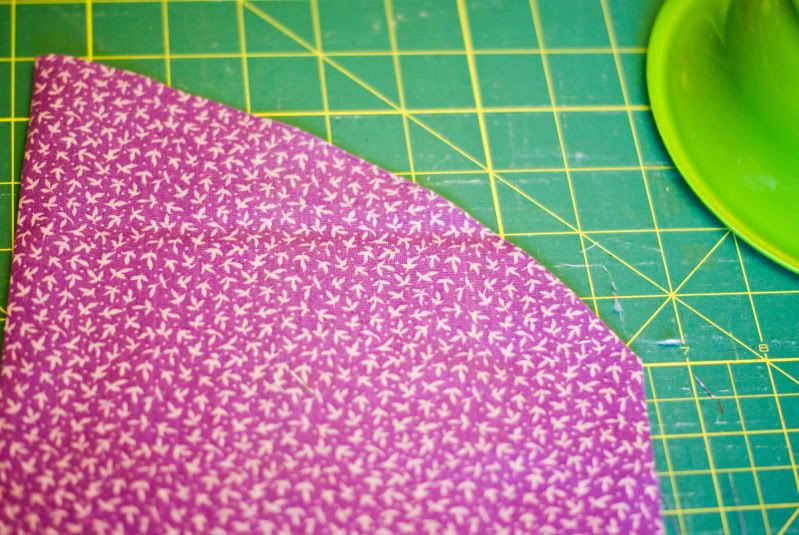
2. Using a bowl or other round object - cut a curve into the short end of your brim pieces. (tip: fold the fabric in half length-wise for matching curves.)
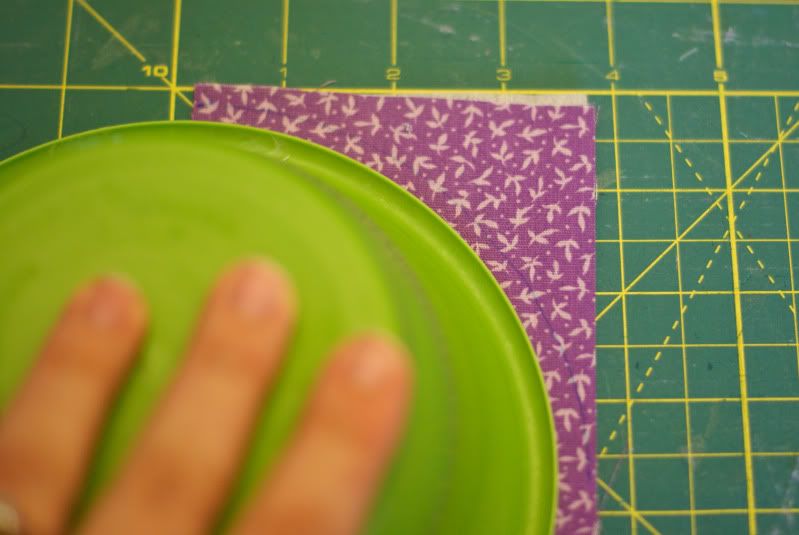
3. Repeat with your main bonnet piece.
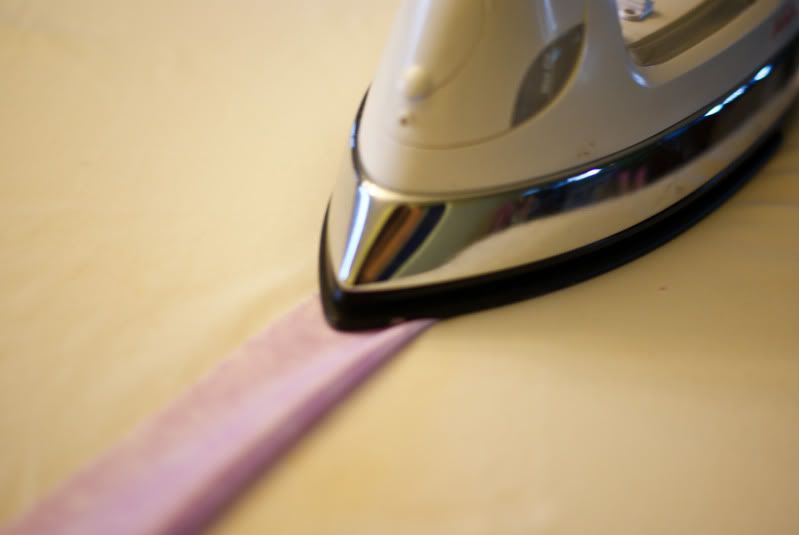
4. Fold your ruffle piece in half, wrong sides together and iron.
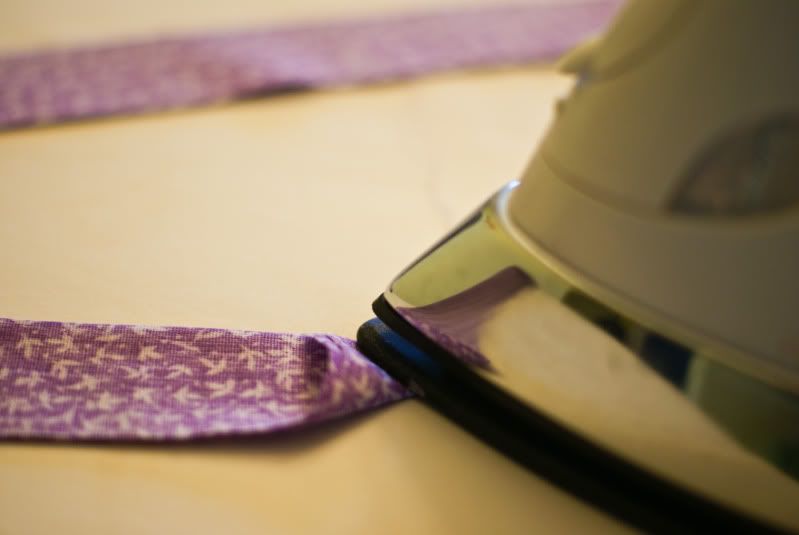
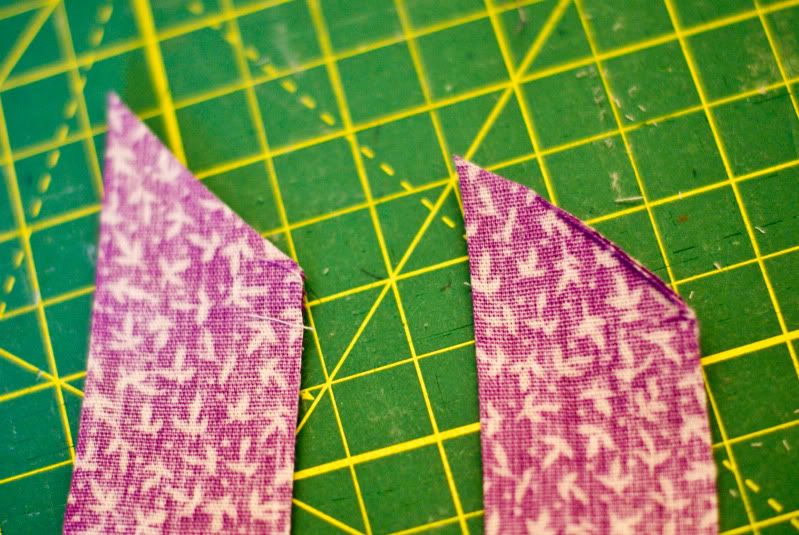
5. Fold your tie pieces in half - right sides together - and iron in half. Fold one short end down at a 45 degree angle (is that right?) and iron. Cut the end of the tie off on the line you just made with your iron, creating a pointed end.
6. Sew your ties together, leaving the short, non pointed end open for turning. Clip corners, turn and iron flat.
7. Grab your ruffle strip and topstitch along the folded edge.
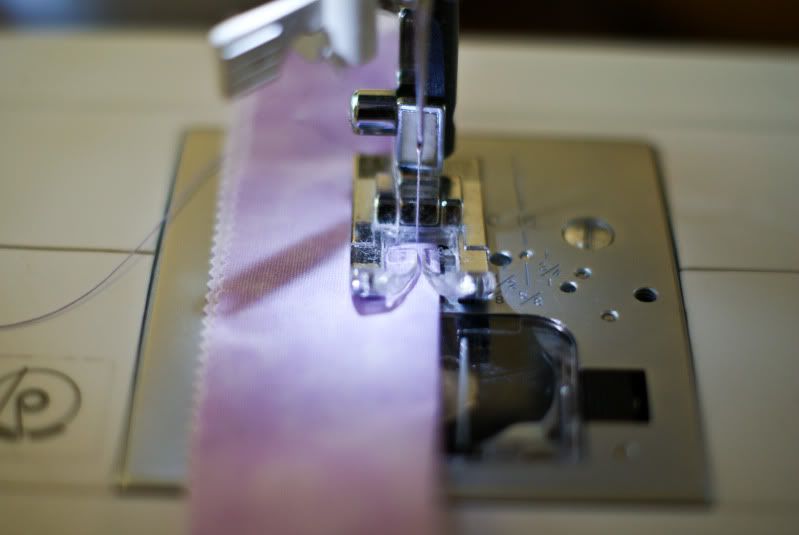
8. Set your stitch length as long as it will go and sew a basting stitch 1/4 inch from the raw edge. Do not backstitch.
9. Pull the bottom bobbin thread to gather your ruffle. You want to gather it as long as the rounded edge of your brim.
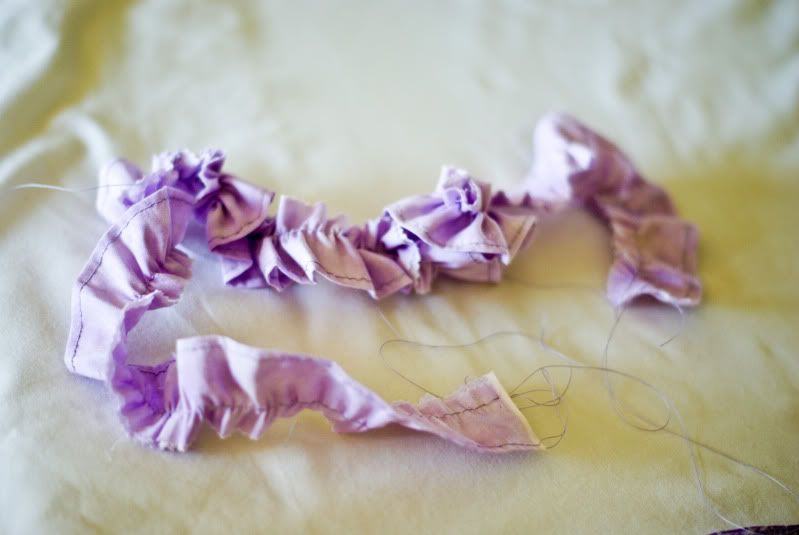
10. Line up the raw edge of the ruffle with the rounded raw edge of one of your brim pieces. Sew onto brim piece using a 1/2 inch seam allowance.
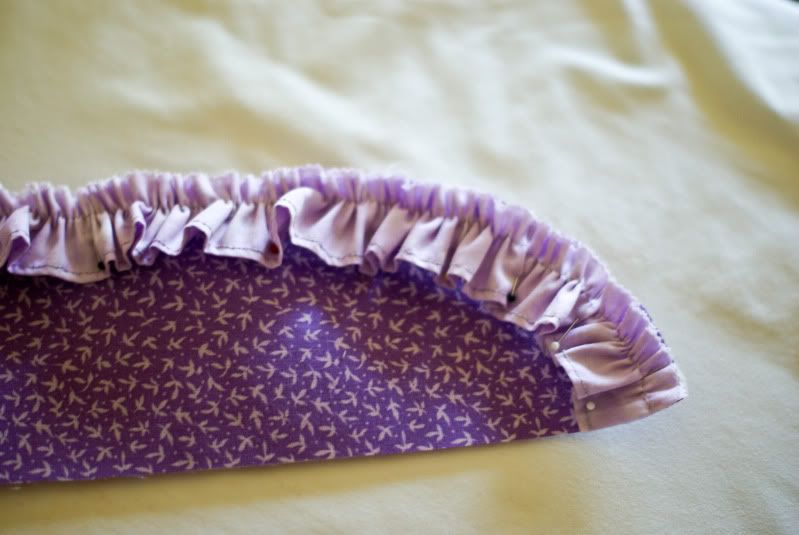
11. Place second brim piece over the first brim piece, sandwiching the ruffle piece inbetween them. Pin. Use the stitches from the first brim piece as a guide, sew pieces together.
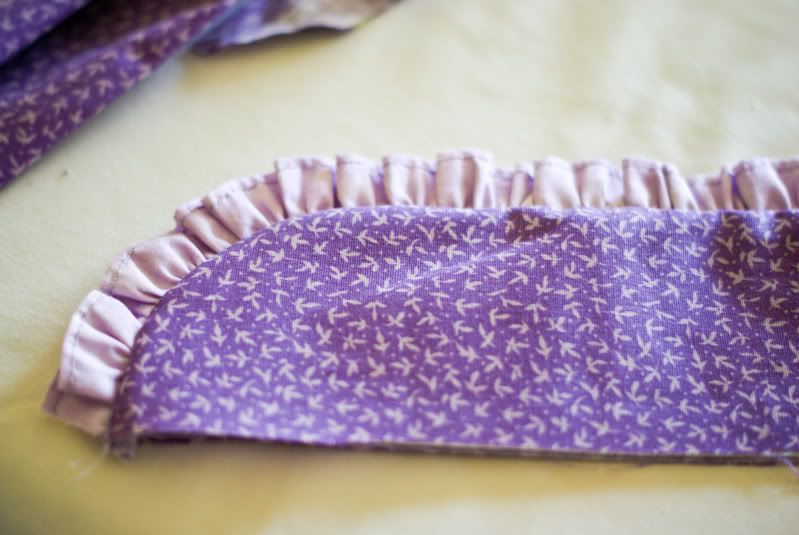
12. Turn and press.
Piping mini-tutorial
You can skip this step, but the piping really does turn a plain jane bonnet into something a little more special. You could also pre-made piping. Here's how to easily make your own.
I just wanted very small piping, so I used some 8 ply yarn I had on hand.
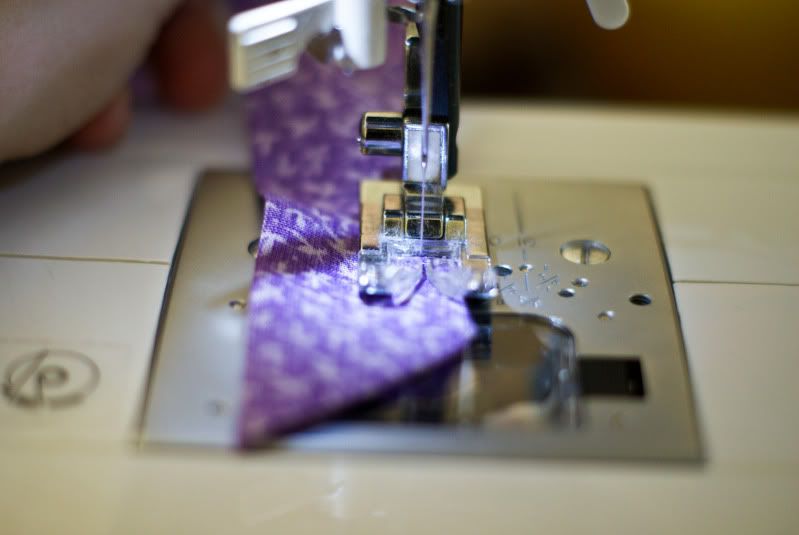
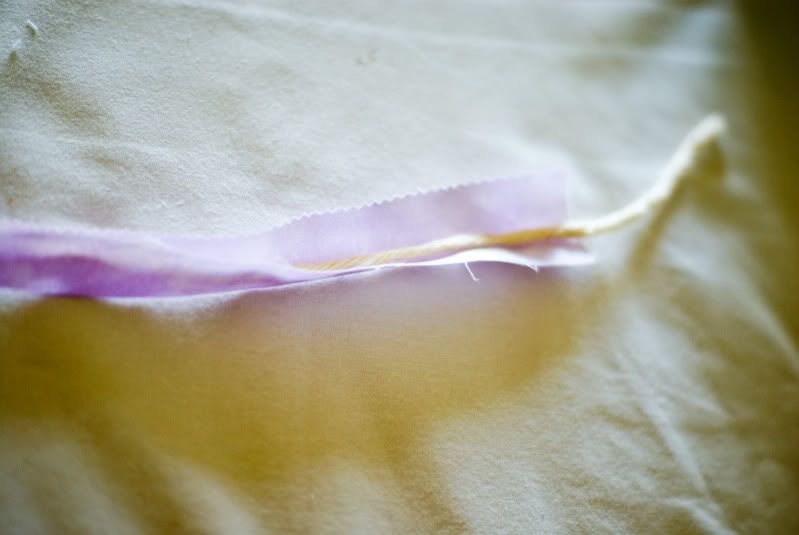
Iron your 1 inch strip in half
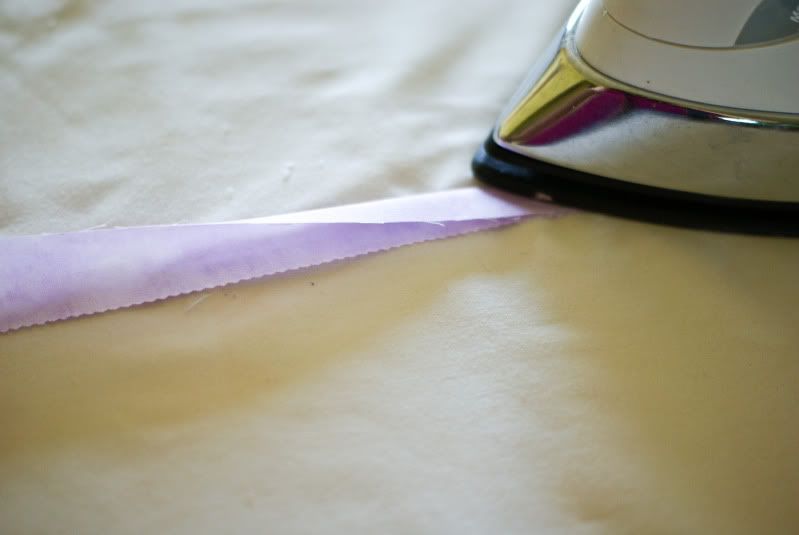
Place your piping (or yarn!) inside the strip in the fold you just created with your iron.
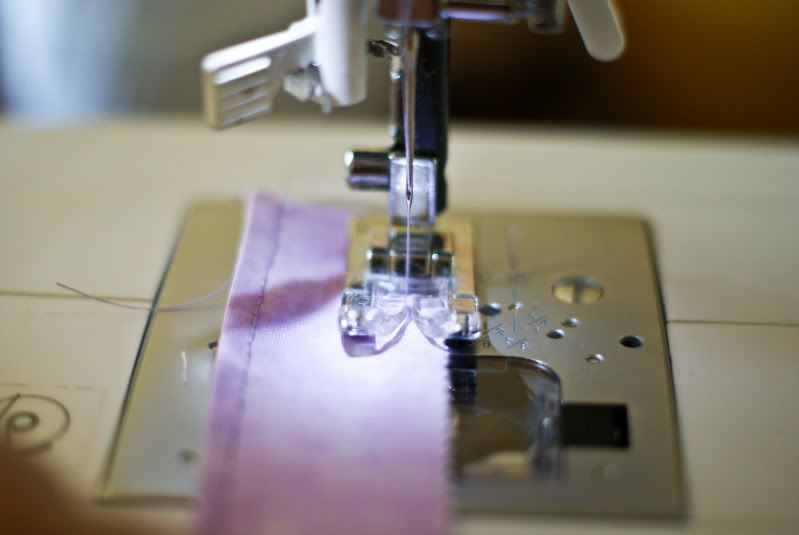
You can use a zipper foot for this step (and you would certainly want to if you ever make larger piping), but I find that using my regular presser foot is fine for small piping like this. Sew as close to the piping as possible, sandwiching the piping in the strip of fabric.
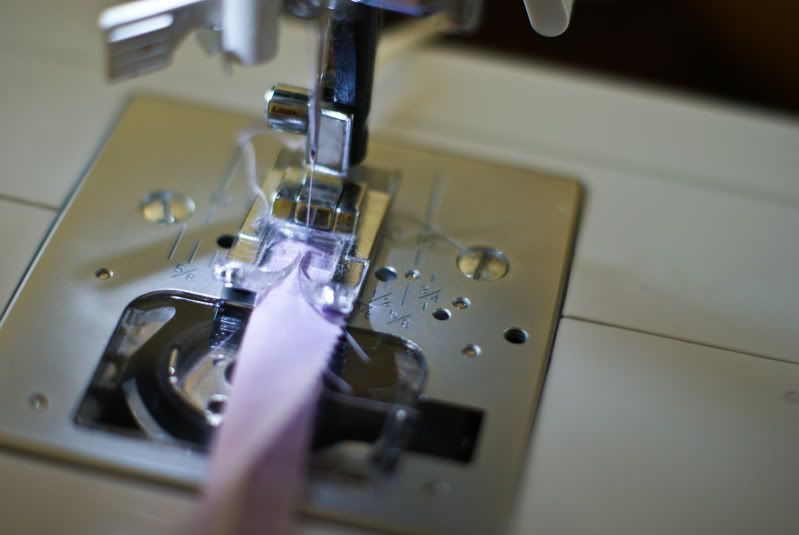
Viola! Piping!
Materials
1/2 yard main fabric
1/4 yard (or less - you may be able to get away with using scraps if you piece strips together, I actually used jelly roll strips I had on hand) trim fabric
elastic thread
thread to match fabric
light to medium weight iron on interfacing
chunky yarn or petite piping
Cut:
From Main fabric:
15 x 15 - cut one
3.5 x 14 - cut two for brim
3.5 x 20 - cut two for ties (alternately, you could use the trim fabric for the ties)
From trim fabric
2.5 x 30 (ish) - cut one for brim ruffle (it's not super crucial to have a particular length here - just as long as it's double your brim length)
1 x 15 - cut one for piping
From interfacing
3.5 x 14 - cut two for brim

1. Fuse your interfacing pieces to the wrong side of the two brim pieces. This will make your bring a little stiffer and not quite so floppy.

2. Using a bowl or other round object - cut a curve into the short end of your brim pieces. (tip: fold the fabric in half length-wise for matching curves.)

3. Repeat with your main bonnet piece.

4. Fold your ruffle piece in half, wrong sides together and iron.

5. Fold your tie pieces in half - right sides together - and iron in half. Fold one short end down at a 45 degree angle (is that right?) and iron. Cut the end of the tie off on the line you just made with your iron, creating a pointed end.


6. Sew your ties together, leaving the short, non pointed end open for turning. Clip corners, turn and iron flat.

7. Grab your ruffle strip and topstitch along the folded edge.

8. Set your stitch length as long as it will go and sew a basting stitch 1/4 inch from the raw edge. Do not backstitch.

9. Pull the bottom bobbin thread to gather your ruffle. You want to gather it as long as the rounded edge of your brim.

10. Line up the raw edge of the ruffle with the rounded raw edge of one of your brim pieces. Sew onto brim piece using a 1/2 inch seam allowance.

11. Place second brim piece over the first brim piece, sandwiching the ruffle piece inbetween them. Pin. Use the stitches from the first brim piece as a guide, sew pieces together.

12. Turn and press.

Piping mini-tutorial
You can skip this step, but the piping really does turn a plain jane bonnet into something a little more special. You could also pre-made piping. Here's how to easily make your own.
I just wanted very small piping, so I used some 8 ply yarn I had on hand.
Iron your 1 inch strip in half

Place your piping (or yarn!) inside the strip in the fold you just created with your iron.

You can use a zipper foot for this step (and you would certainly want to if you ever make larger piping), but I find that using my regular presser foot is fine for small piping like this. Sew as close to the piping as possible, sandwiching the piping in the strip of fabric.

Viola! Piping!

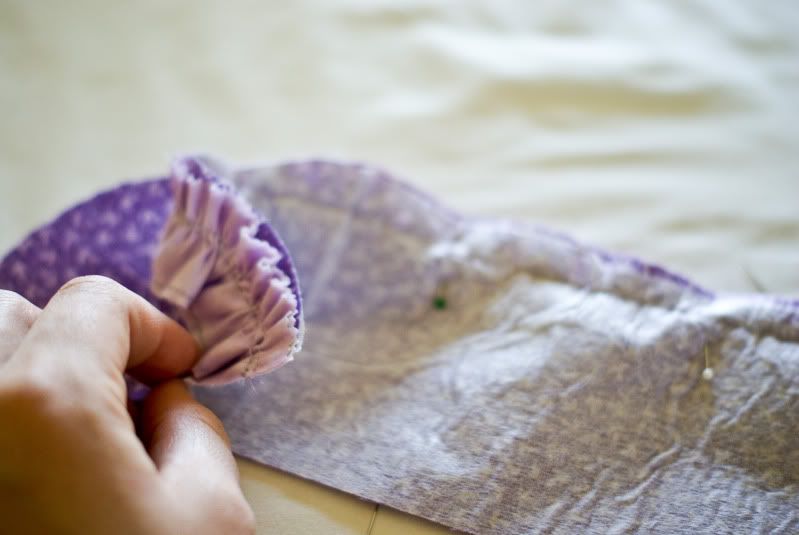
14. Pin your piping on the brim piece, raw edges together. Turn your piping under when you get to where the brim meets the ruffle, as shown in the pictures below and sew onto brim, using the original stitches in piping as a guide.


15. Take your main bonnet piece and iron the bottom straight edge under 1/4 inch and then again another 1/4 inch. Stitch.

16. Iron the sides of the main piece (just up to the curve) under 1/4 inch and then again another 1/4 inch. Stitch.

17. Set your stitch length to the longest it will go and sew around the entire curved edge (3 sides). Sew the stitches on the inside of the finished edges you just sewed - otherwise you won't be able to gather the stiches.

18. Gather the stitches.

19. Pin the bonnet piece to the brim piece, right sides together (piping is sewn on the right side) and raw edges alined. Leave 1 1/2 inches of the main bonnet piece on each end of the brim, as shown in the pictures below.


20. Using a 1/2 inch seam allowance, sew brim and main piece together, using the stitch line from piping on the wrong side of brim piece as a guide.

21. Trim away excess fabric and use a zig zag sitch to reinforce the seam.


Mini shirring tutorial
By using elastic thread in your bobbin, you can create a stretchy stitch that creates a faux smocked look. It's super easy and a great way to create shape.

Thread your thread through the hole in the top of your bobbin and carefully wind the thread around the bobbin by hand.


You don't want to wind it too tight or too loose. When you are finished, it should look something like this:

Load your bobbin as you normally would.

22. With your elastic thread loaded on your bobbin, set your stitch length to it's longest setting and sew three lines into the neck of the bonnet - each 1/4 inch apart, backstitching at the beginning and end of each row. You may need to stretch your fabric out flat when you are sewing your 2nd and 3rd row.
23. Attach your ties by folding the raw end under and stitching to the inside of the neck of the bonnet, right over the shirring rows.

24. Take your bonnet to the iron and steam the shirred rows. The steam shrinks the elastic thread and gives you a nice tightly shirred look. Here's a before and after picture - cool, huh?


Now stick your adorable new bonnet on your favorite little person and admire your handiwork!


I'd love to see a picture if anyone attempts a bonnet from this tutorial!
Molly


you are my saviour! I have been searching high an dlow for a cute sun bonnet pattern for my Ella's first birthday next week. This one is perfect! yay!!
ReplyDeletexx
Hello Molly,
ReplyDeleteyour little darling is so cute and I love this bonnet. So much vintage and sweet!
Thank you for sharing this excellent tutorial.
After my challenges, urgent projects and other things I will make this bonnet I hope.
I´m really excited to do this.
love this! I want to make one this coming week - do you have any idea how much scaling down would be required for a 1yr sort of sizing?
ReplyDeleteHello, I have been wanting to make this ever since I first saw it on Pinterest. I finally have my pieces cut and pressed, so I am ready to go! I did want to get your opinion on something. How do you think it turn out if I topstitched the ruffle after I sewed and pressed it onto the brim?
ReplyDelete@Leah - Top stitching always looks so nice! I'm usually too lazy and in too much of a hurry to finish to bother with it, but you should go for it! It give handmade things such a nice finished look. I'd love to see a picture when you're done. :)
ReplyDeleteI pinned this a few months ago and finally got around to making it today. I was making it for my 5yo daughter and found that with the measurements given, it came out much too small. Granted, my kids all have enormous heads so I should have thought of that to begin with. So that one went to little sister (age 3) and I tried again. I increased the main body to 18"x18", and the brim to 5.5"x17". It fits better this way and she has plenty of growing roomI also didn't finish the edges all the way up the sides of the body, but just did about 3 inches on the bottom, leaving the part that attached to the brim all unfinished. I also skipped the ruffle and piping because I am lazy. =) It came out super cute and my resident Little House fan is thrilled!! Thanks for the great tutorial.
ReplyDeleteI love it will be making one in the near future
ReplyDelete