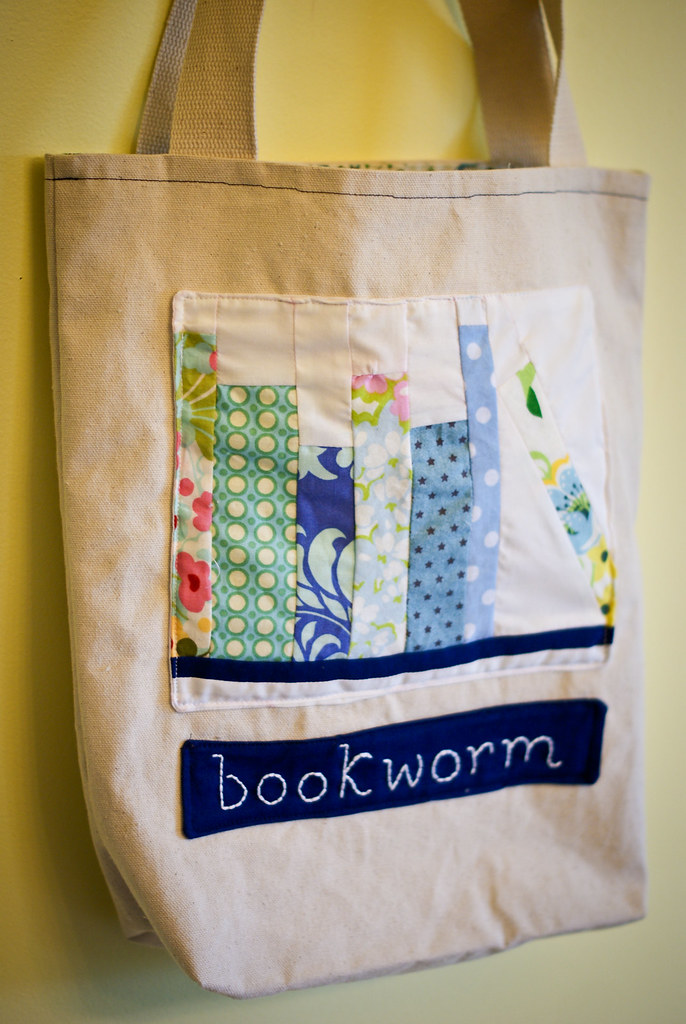


Last year I made lavender sugar scrub for all the women on my gift list. I have seven sisters (remember?) I'm always looking for a little something extra to put with their gifts.

I totally intended to post this before Christmas, but time just got away from me. I figure if I try to wait until next Christmas to post - I never will. Anyway, here is the super duper easy instructions.
You will need:
1 1/2 cups of sugar
1/4 cup olive oil
essential oil for scent (I used lavender)
You might need to play with the quantities of your ingredients to get the texture you want, but those are the basic numbers. It's really hard to get this wrong. I picked up some lavender oil at the vitamin shoppe, but there are dozens of other places to get yummy smelling essential oils. Instead of plain white sugar, I used Domino's raw sugar, which is a little coarser and more like the sugar scrubs you find at the store. But if you want to keep the cost really low, go with plain 'ole white sugar.
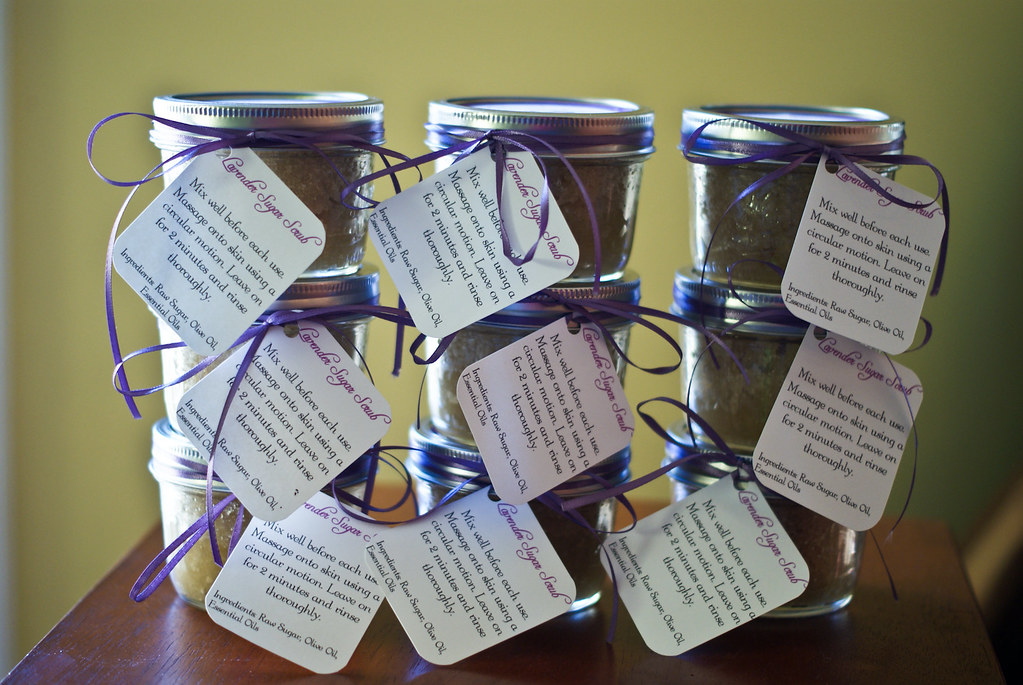
Then I bought a case of pint sized mason jars to package them in. The packaging options for sugar scrub are really endless. You could probably hit the thrift store and come home with a gaggle of unique bottles that would make cute little gifts. Of course, glass and porcelain don't exactly mix, so plastic containers might be preferable.
I printed the labels on big shipping labels and used my rotary cutter to cut them to size. I bought a pack of cheap spoons from wal-mart and a 1$ spool of matching ribbon and - voila! A whole bunch of yummy smelling sugar scrub.
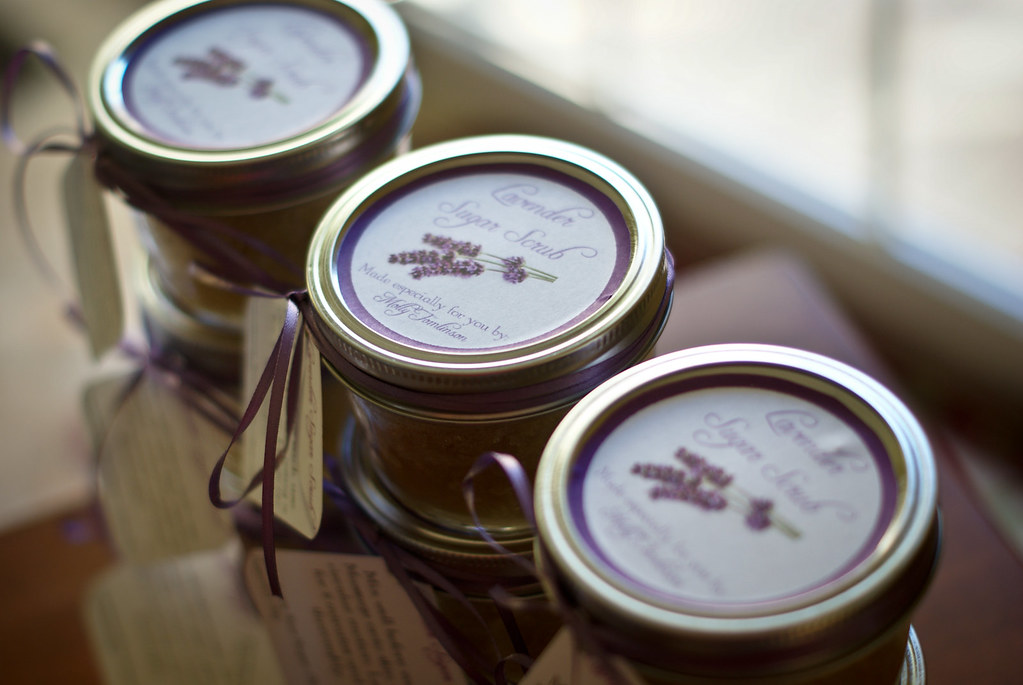
I did keep a couple jars for myself and I loved it! It makes your skin super soft and it last forever. It keeps well too. I have a jar that I just recently opened and it's still fresh and smells great.
Molly
Then I bought a case of pint sized mason jars to package them in. The packaging options for sugar scrub are really endless. You could probably hit the thrift store and come home with a gaggle of unique bottles that would make cute little gifts. Of course, glass and porcelain don't exactly mix, so plastic containers might be preferable.
I printed the labels on big shipping labels and used my rotary cutter to cut them to size. I bought a pack of cheap spoons from wal-mart and a 1$ spool of matching ribbon and - voila! A whole bunch of yummy smelling sugar scrub.
I did keep a couple jars for myself and I loved it! It makes your skin super soft and it last forever. It keeps well too. I have a jar that I just recently opened and it's still fresh and smells great.
Molly