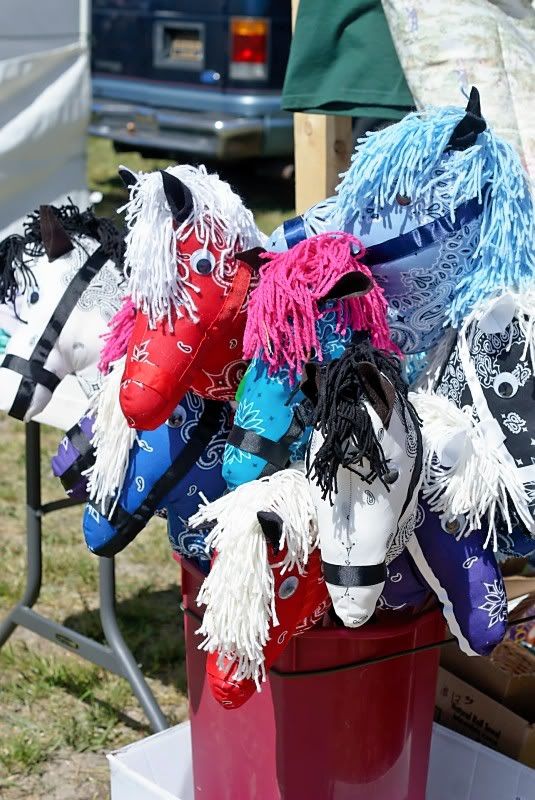
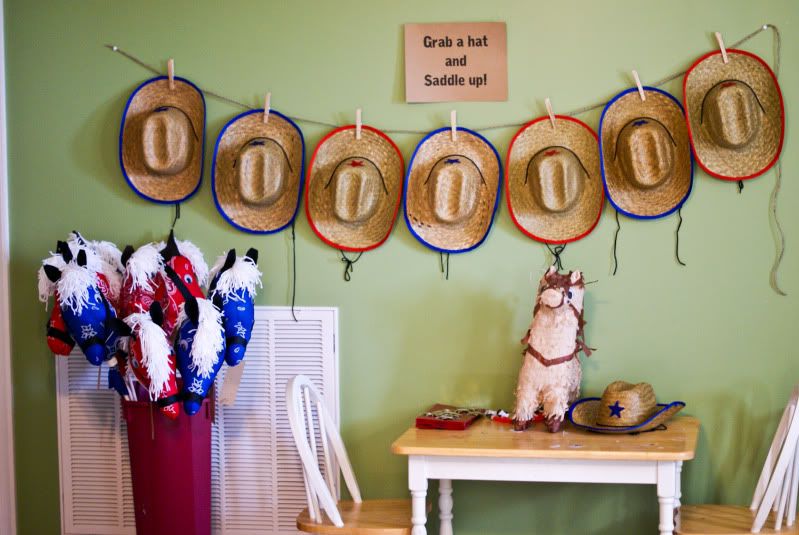
So...4 months later...here is that stick horse tutorial. It's a little bare bones and there are a TON of ways you could spruce this up and make it sturdier or cuter, but this will give you the basic idea. These took me about 30 minutes a piece, but I did all of mine at the same time, so it would take longer than that to just make one.
My cousin and I made another batch for our booth at Plow Days this year and made a few modifications that I'm going to note as I go along.
Supplies:
1 Dowel Rod - I got mine at Hobby Lobby, there are all different sizes, I just went for the cheapest I could go without it feeling like it could potentially snap. If you have an old broom handle hanging around, that works too!
1 bandana - Again, I picked this up at Hobby Lobby for $.99
2 yds. Coordinating ribbon
Google eyes - I think a pack of 16 was around $2.50 - Cute buttons would be adorable as well!
Small amount of felt - You can pick up a square of felt for $.25 at most craft stores.
Poly fill - I cut open a couple old pillows for my stuffing - that really helped keep the cost down!
Yarn
Hot glue gun
Matching thread and needle
Rope or cord - If you are feeling ambitious and want to add reins....
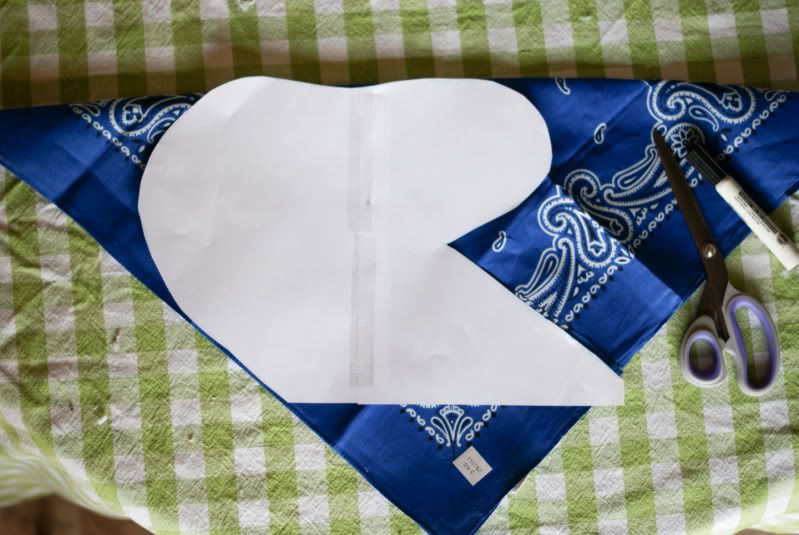
Okay, so I didn't take the time to scan in the pattern I used, because it's very simple and if you can draw a stick person, you can draw this. To get the scale right, fold your bandana in half like a triangle. You'll need two sheets of paper for the pattern. You want the pattern to go all the way to the edges of the bandana. Okay, here's the picture, because hopefully that will make what I just said make sense. :)
Now trace your pattern onto the folded bandana and cut out, positioning the pattern in the position shown above.
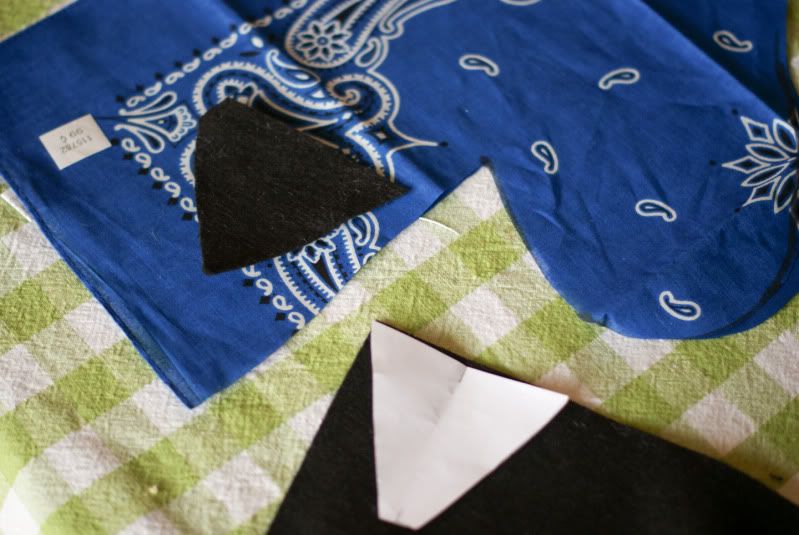
You will also need to cut out two ears from your felt. Cut out a triangle and then lop the top off of it. That would be called a...trapezoid? I've been out of school for too long.
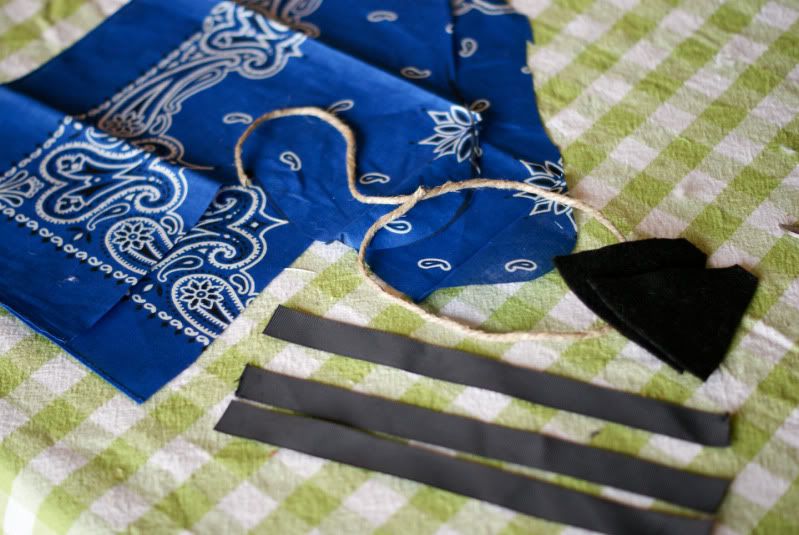
To cut your ribbon, measure from the end of your horses nose diagonally to the top of his head. Cut three of this length.
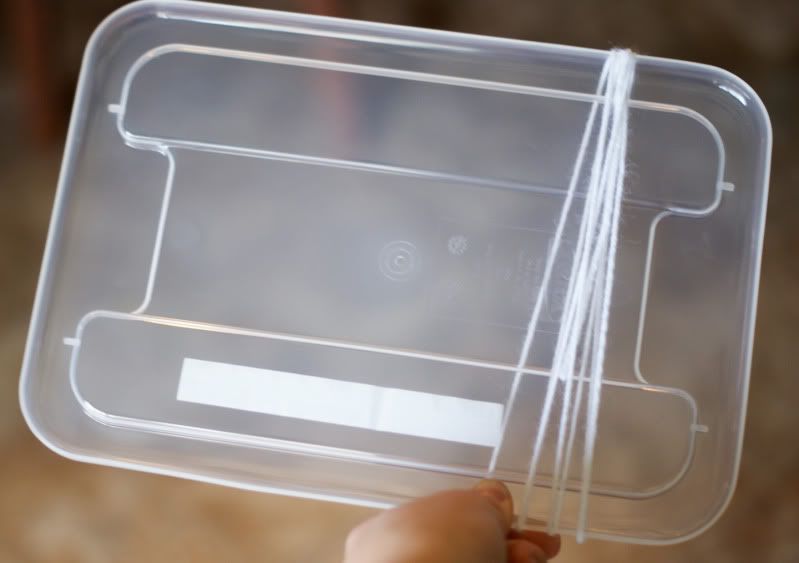
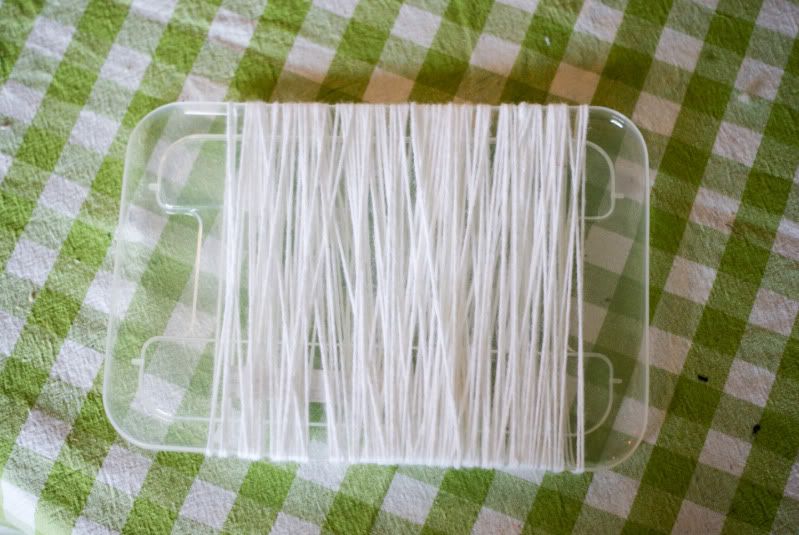
Here's the fun part! Grab a book or another flat rectangular object (I used the lid to a plastic bin) and begin wrapping your yarn around it.
Wrap it about 75 times around. The more times you wrap, the thicker the horses mane will be...but the harder it will be to sew, so you have to find that balance. 75 times was just about right. Also, the wider your book, the longer the mane will be, so keep that in mind as well.
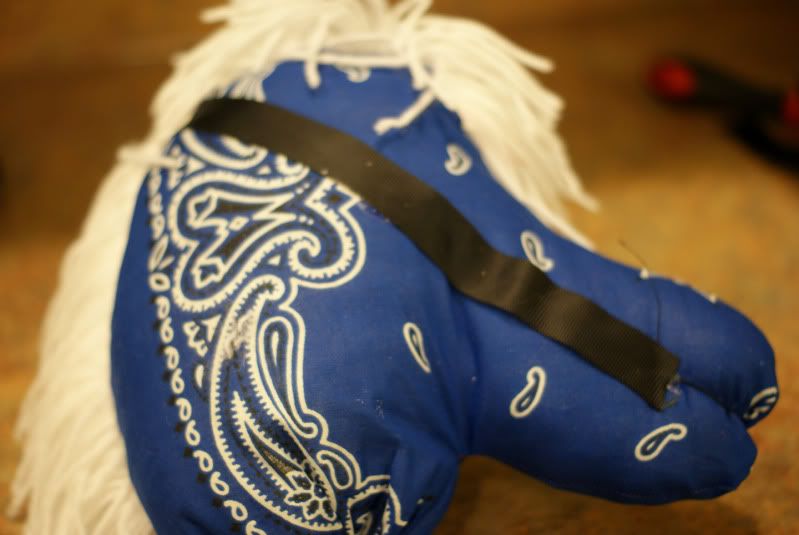
Now you need to decide whether you are going to hot glue the bridle on the horse after construction or sew it on. I hot glued the ones I made for the kids party, but I sewed the one I made for Plow Days and it's really a MUCH better idea. Don't have any pictures of that, but basically, you are going to take your two head pieces and lay your ribbon on the head and pin. Make sure they line up on both sides. Sew down both sides of the ribbon.
If you are sewing button eyes, now is the time. Don't forget you're going to lose about 3/4 inch when you sew the mane in , so don't do it too close to the edge.
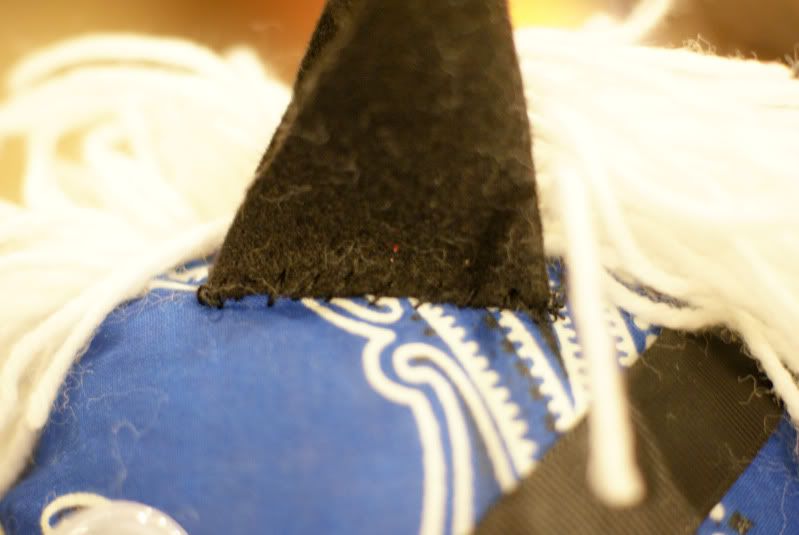
Same story with the ears. I hand-sewed mine (see below) but the 2nd time around I machine stitched them and I liked it better. Here's how I did it: Fold the ear in half lengthwise. Position the ear with the point facing DOWN and stitch as close as you can get to the edge of the felt. I positioned mine about 2 inches below the top edge of the horses head. Then flip the ear up and stitch again. That ear isn't going anywhere!
Sorry I don't have pictures of those steps, if you have questions - feel free to leave them in the comments and I'll try to answer them there.
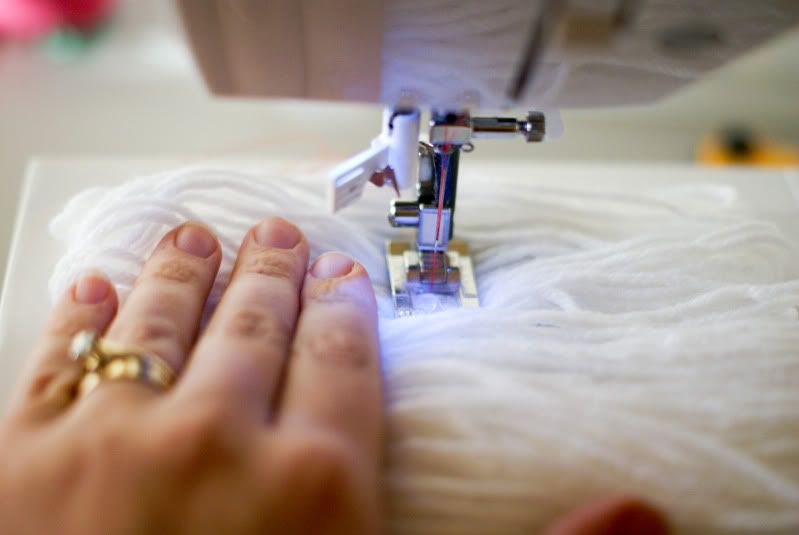
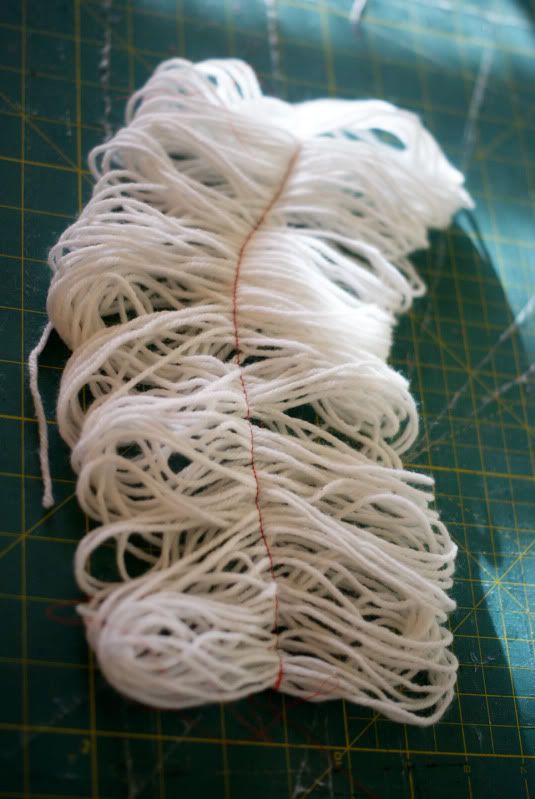
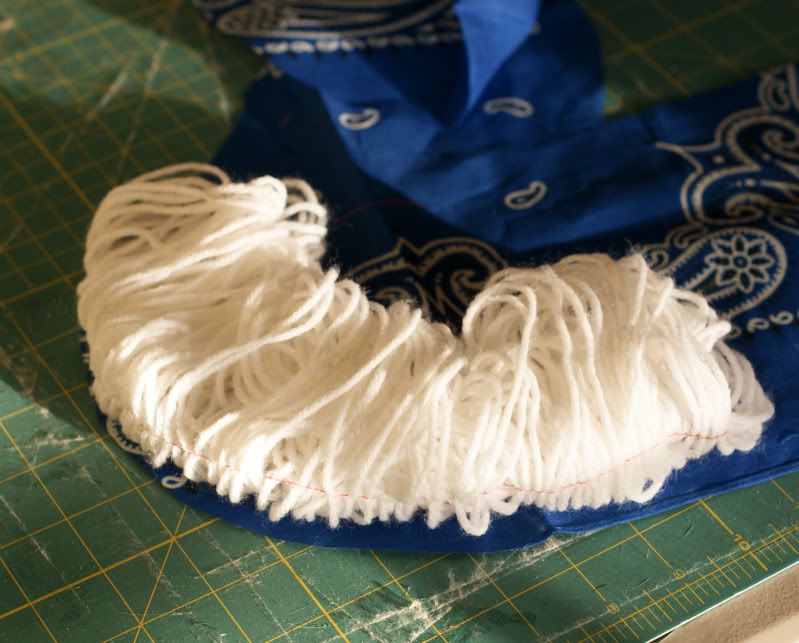
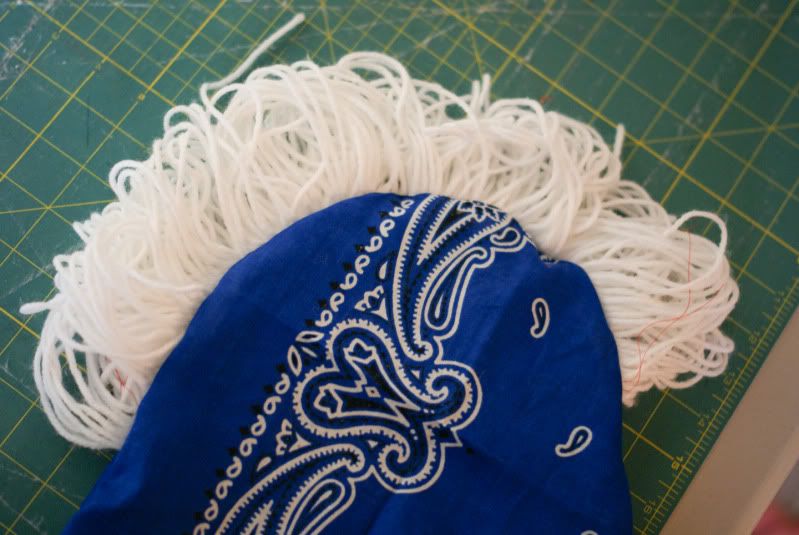
Okay, back to the mane. VERY carefully, slide the wrapped yarn from the book. Do this right near your machine so there is no chance of it falling apart (says the voice of experience). Sew straight down the center of the looped mane. You want to end up with a mane about 12-18 inches long, so go slow and adjust accordingly.
Now you are going to fold your mane in half along the seam you just made and position it on the RIGHT side of the horses head.
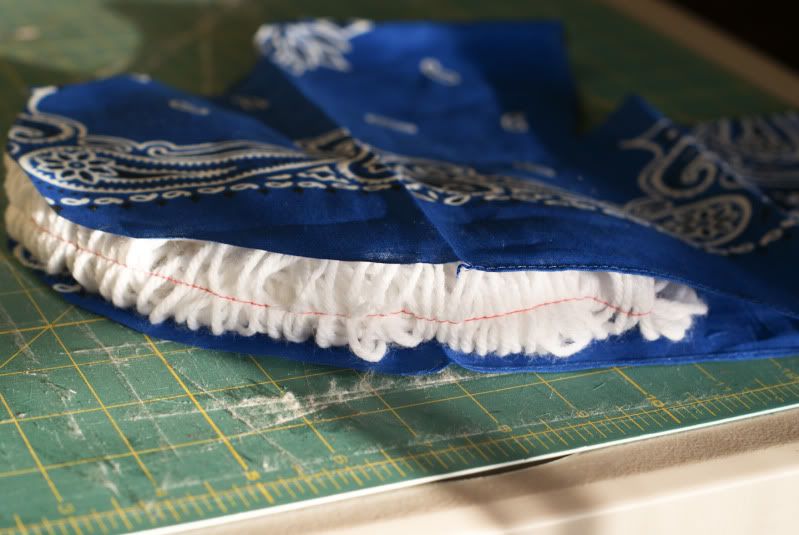
Sandwich it between the other horse head piece, right side DOWN.
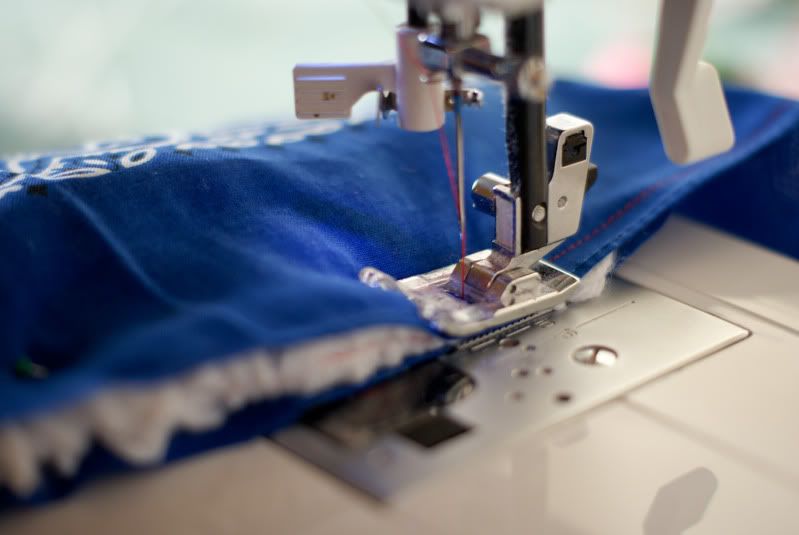
Pin generously and then sew around the edge of your horses head, leaving only the neck hole open. It's going to be a PAIN to sew around the mane, especially if your want a nice thick mane. Go slow and don't cuss too much.
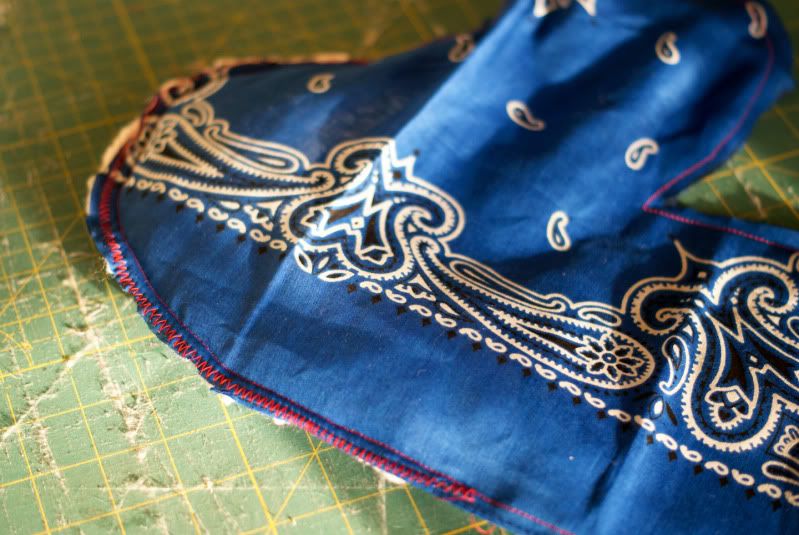
Reinforce at least the mane portion of the horse with a zig zag stitch.
Flip your horse right side out. Yay! We're almost done!!
Now take a pair of scissors and cut all the loops out of the horses mane.
Next, we get to stuff the horse! Don't under stuff - especially through the nose. Floppy horses can't run fast. ;)
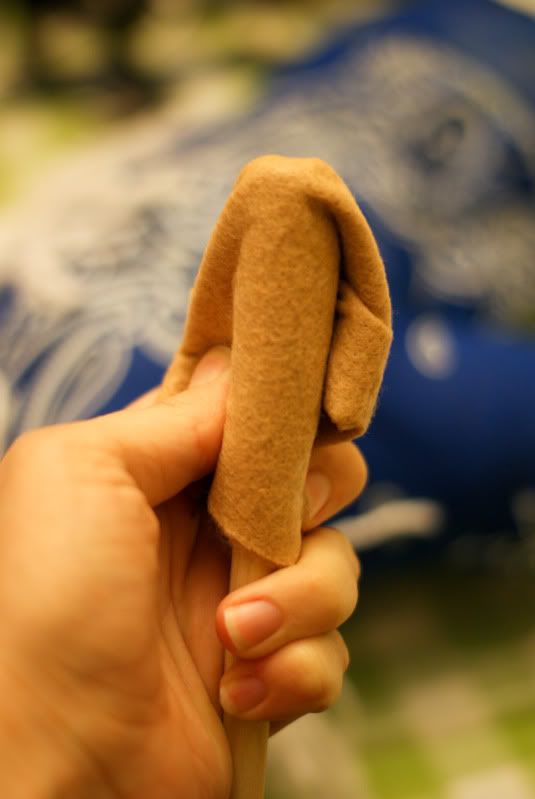
Now that your horse is all stuffed, we are going to give him legs! Or...at least a body. Grab your dowel rod and wrap a piece of felt around the end. This will prevent the stick from making it's way through the fiber fill and poking a hole through the fabric.
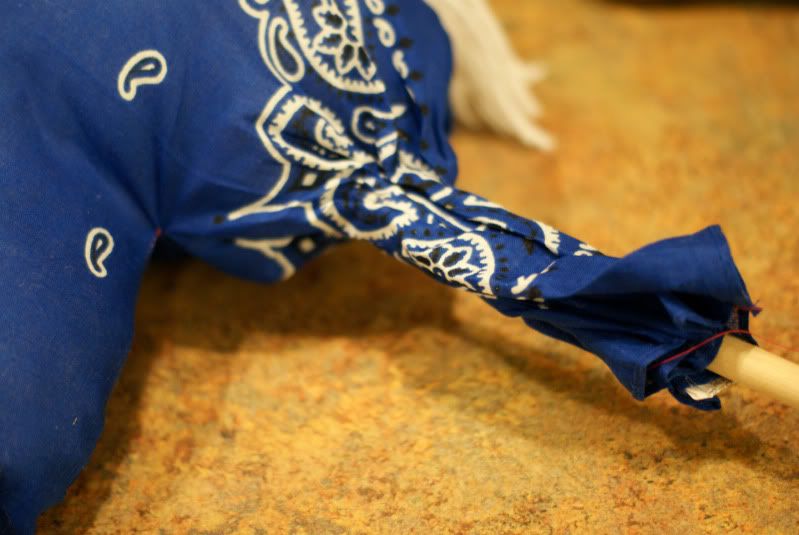
Stick the rod into the fiberfill and position it so it feels secure but not so that the top of the rod is touching the top of the horse. If you fill the horse adequately, it will be easier.
Use your hot glue gun and put a good amount of glue on the stick where it meets the fabric. Squeeze the fabric around the glue to attach. Don't burn your hand!
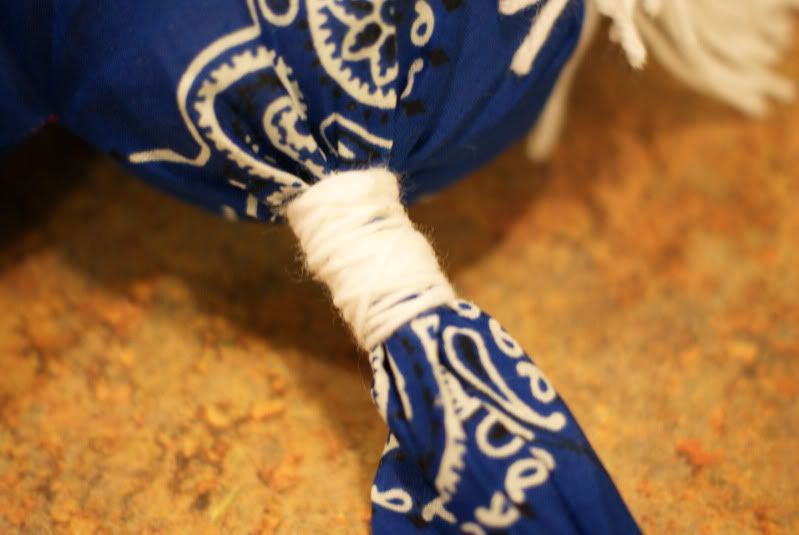
Wrap a length of yarn around the bottom of the horses head to help secure. Use a dab of hot glue to secure end.
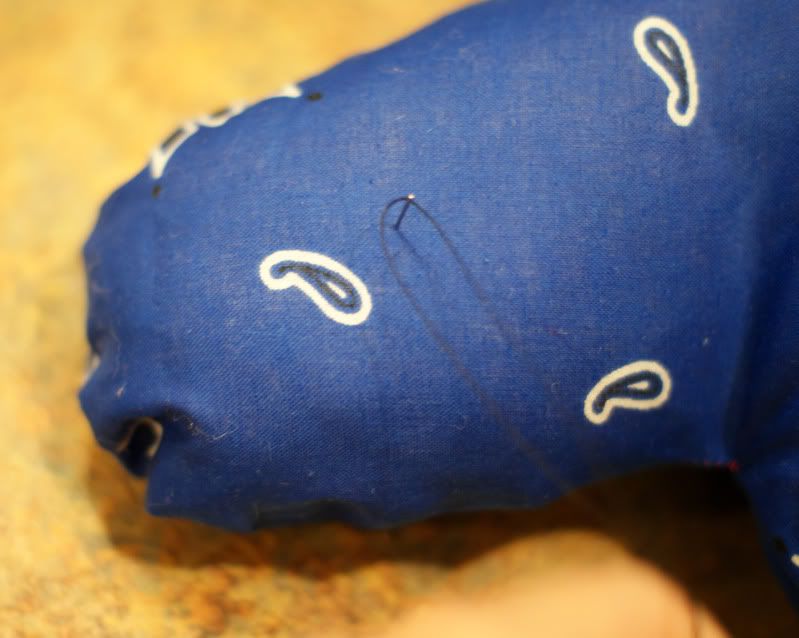
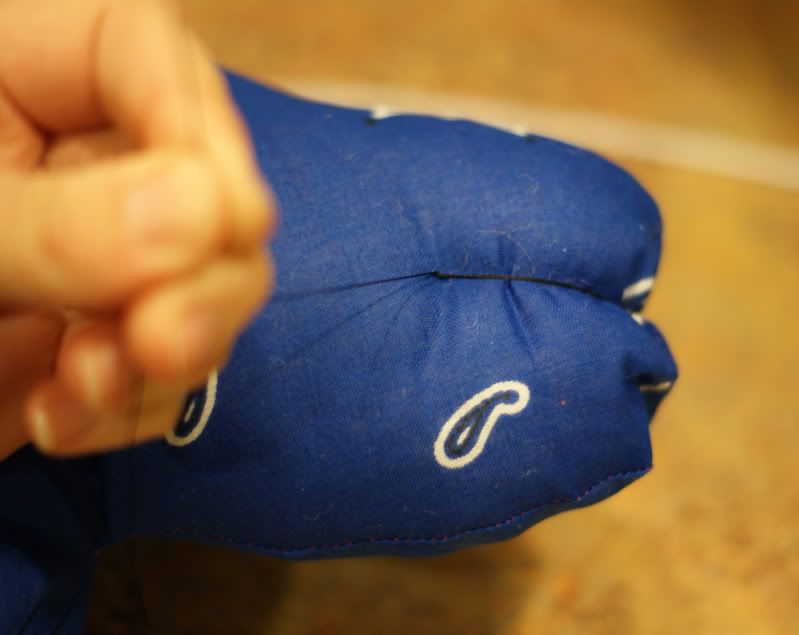
I added a mouth by looping some heavy duty thread around the snout several times. Like this:
If you added the bridle, ears and eyes before assembling, you could call it a day! If not, fire up that glue gun and start gluing!
You can use the third piece of ribbon to wrap around the snout. Or not. Your call. If you decide to add reins, stick the ends under this piece.
If you are hand sewing the ears, position them and use a whipstitch to secure.
You're done! Easy peasy, right? Now hand your adorable stick horse to your favorite cowboy or cowgirl and watch them ride off into the sunset!
Molly
