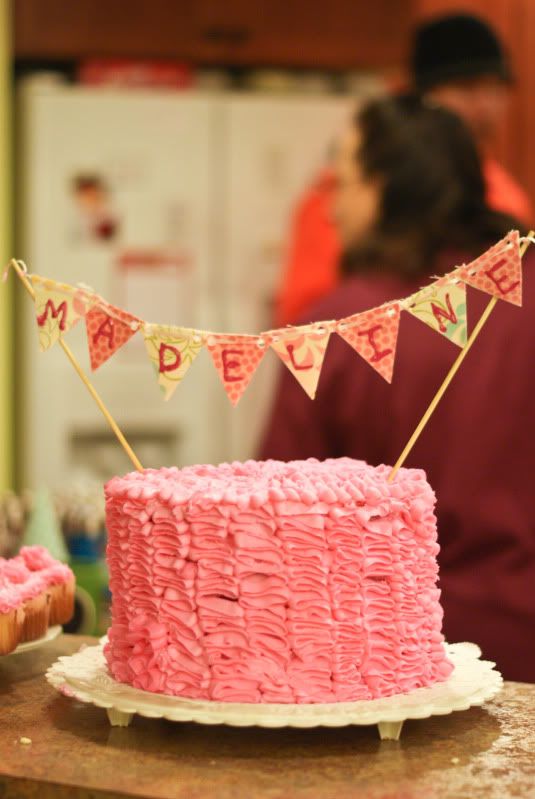
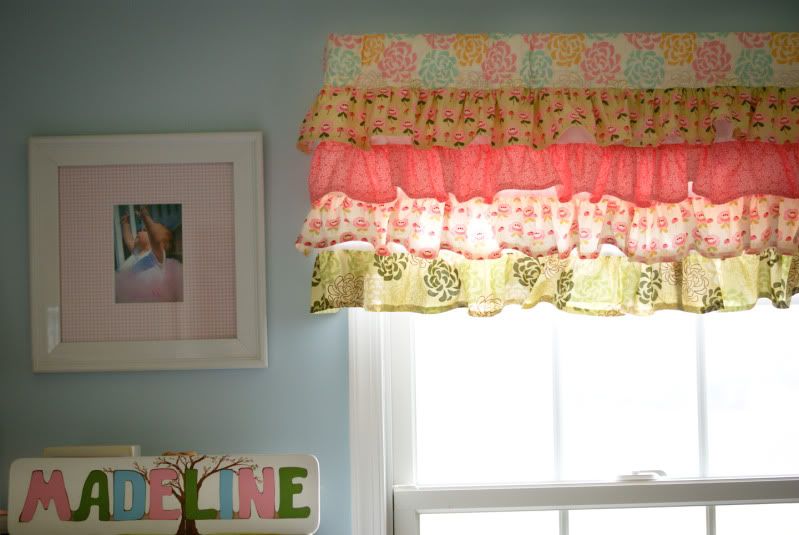
When I bought all the fabric for Madeline's quilt, I made sure I bought plenty of extra matching fabric so I could make pillows, curtains and other accents for her room. I knew I wanted valances, but I could not for the life of me decide what style to make. I knew I wanted something fun and girly, but it's hard to get creative with curtains, right? Wrong!
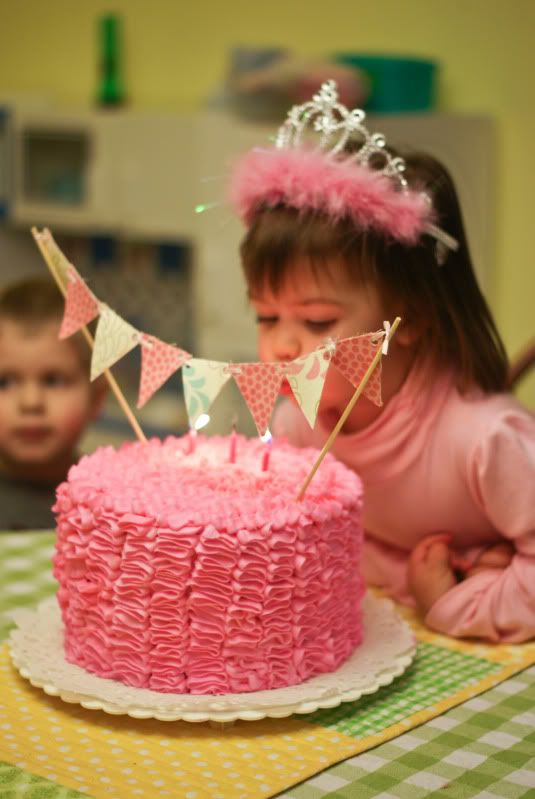
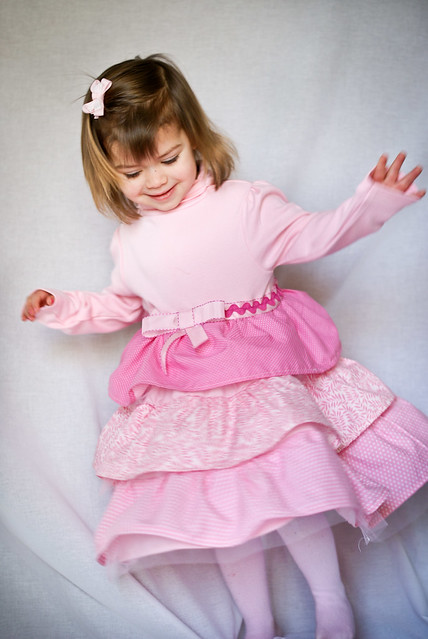
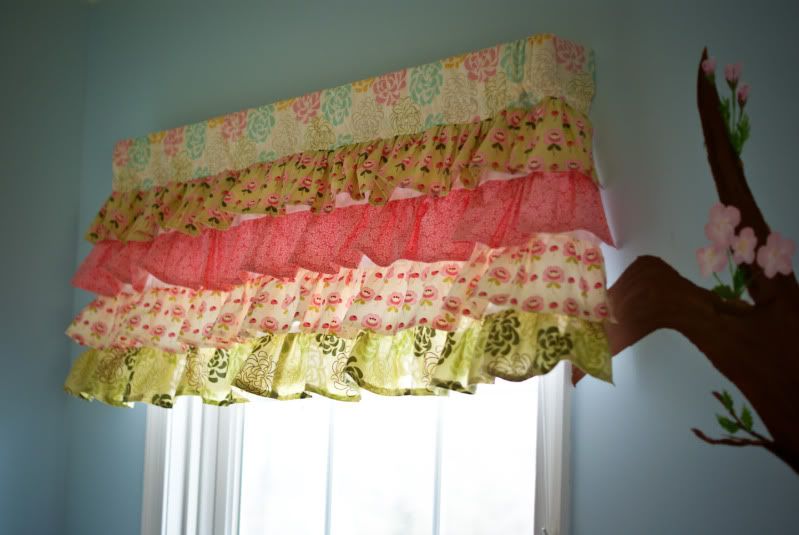
The idea for these curtains actually came when I was sketching out a birthday outfit for my girl and it dawned on me that I could apply the same principle of ruffled tiers to curtains! I am so, so happy with how they came out, and my girl just loves them. Well, as much as an almost 3 year old can love curtains. :)
Cute, right?
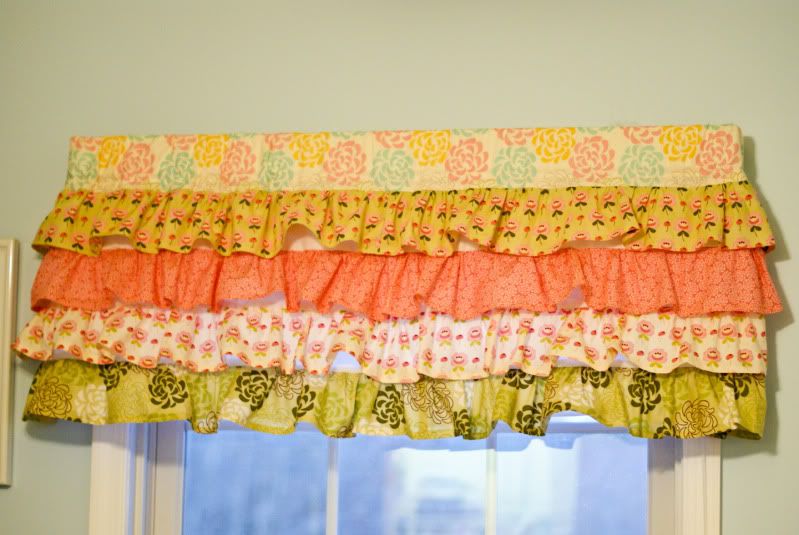
I took pictures so I could share a quick tutorial with you guys! These are really pretty simple to make, just a little time consuming.
CUT:
Important note: I made these to fit the 3 inch curtain rods that were already in her room - if you want to make them to fit a traditional pocket rod, you'll need to adjust the pocket measurements. Her windows are 39" wide from molding to molding.
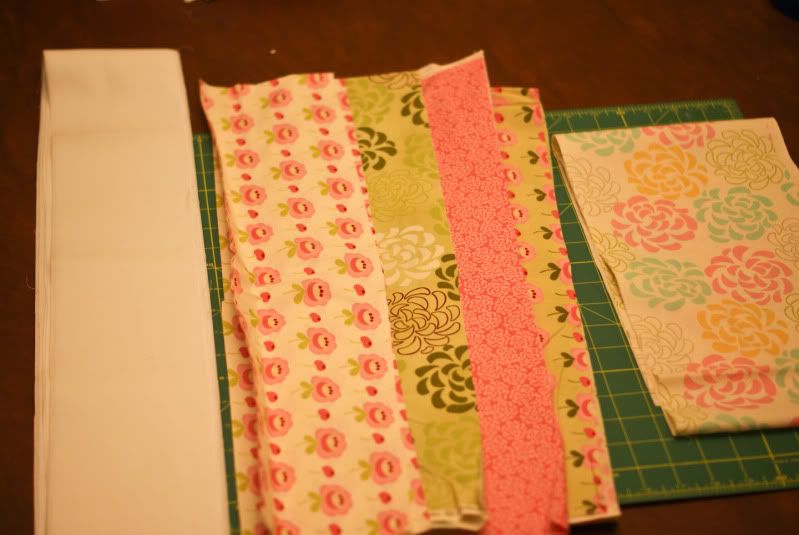
Pocket fabric - This is the fabric that will hold your curtain rod. For my 3" rod, I cut a piece
55" x 7.5" - cut oneWhite lining fabric -
55" x 4.5" -
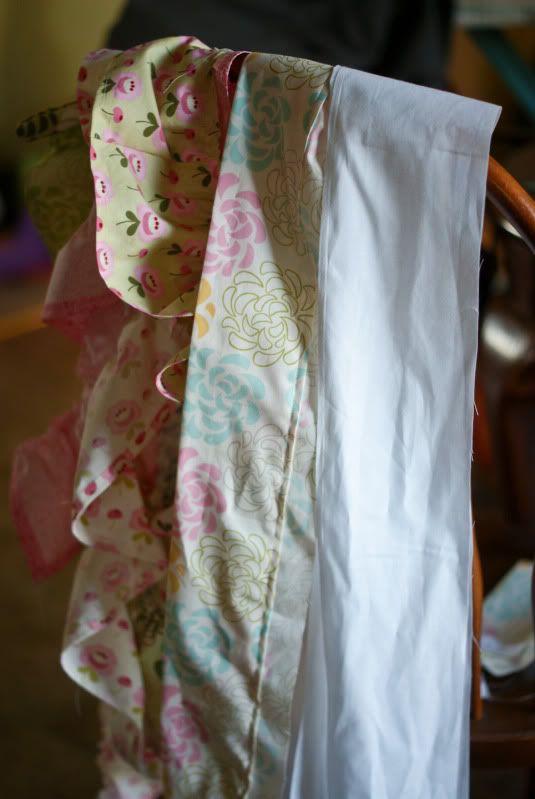
cut fourFabric for tiers -
90" x 5" -
cut four (note: Since this is going to be gathered, don't sweat the length of these tiers too much. I wanted to double the length, but my fabric was 45" wide, so I just cut two pieces that I then pieced together to make one long piece. You probably will have to piece these tiers together unless you're working with a large cut of fabric, but since they'll be gathered, the seams will be virtually invisible.)
Okay, now head to your ironing board.
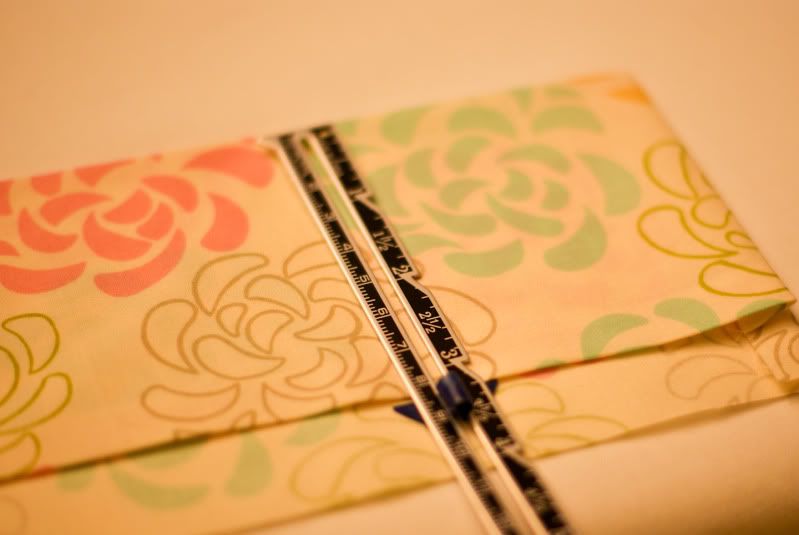
Here is where you need to figure out the width of your curtain rod. Mine is 3", so ironed over a 1/4" and then measured exactly 3 1/4" and folded and ironed the fabric like this:
Iron down a 1/4" of the bottom of each tier and the ends of the pocket fabric and white lining pieces.
Only ONE white lining piece will need to be hemmed - the piece attached to the bottom tier. I cheated and used a piece I had cut on the selvage and just trimmed it down an inch so it wouldn't show under the last tier. Otherwise, you'd want to iron and hem this piece up about an inch.
I didn't enclose my raw edge. I kind of figured that 1) no one is going to look and 2) how often do you really wash curtains? They just kind of hang there so I wasn't too worried about durability. If you want to do this, I'd add another 1/4" to your cuts.
Now we're ready to sew! Ready?
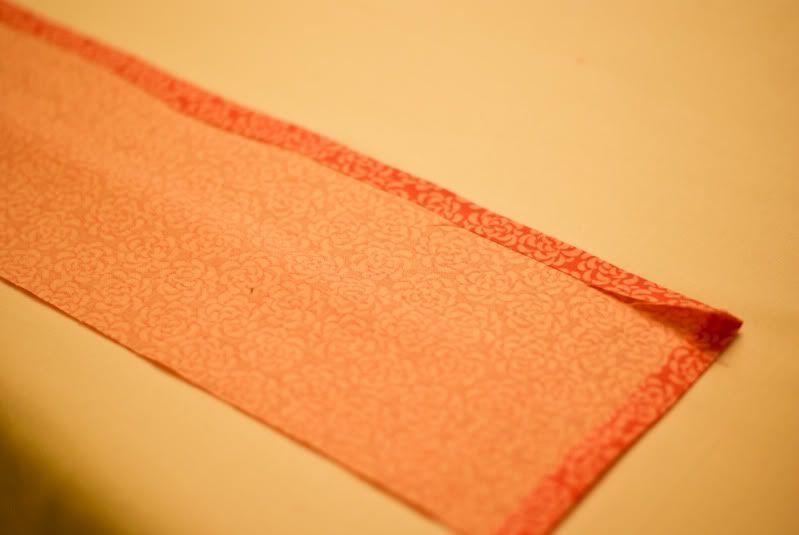
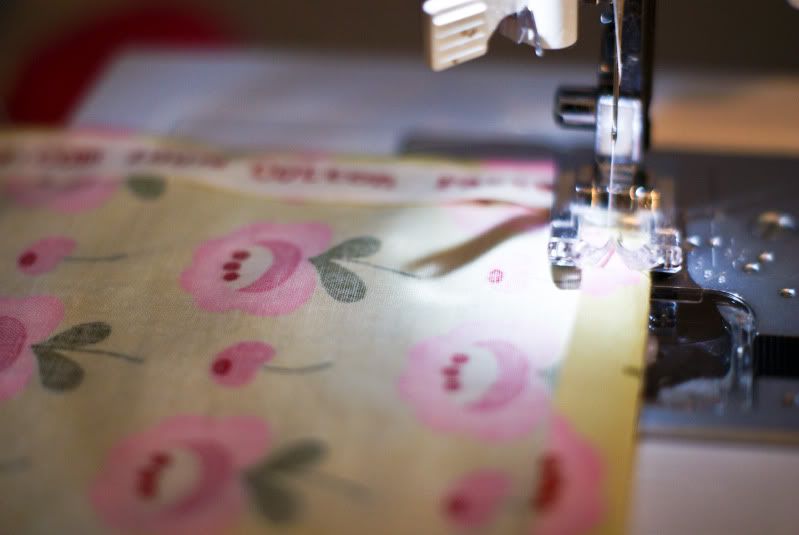
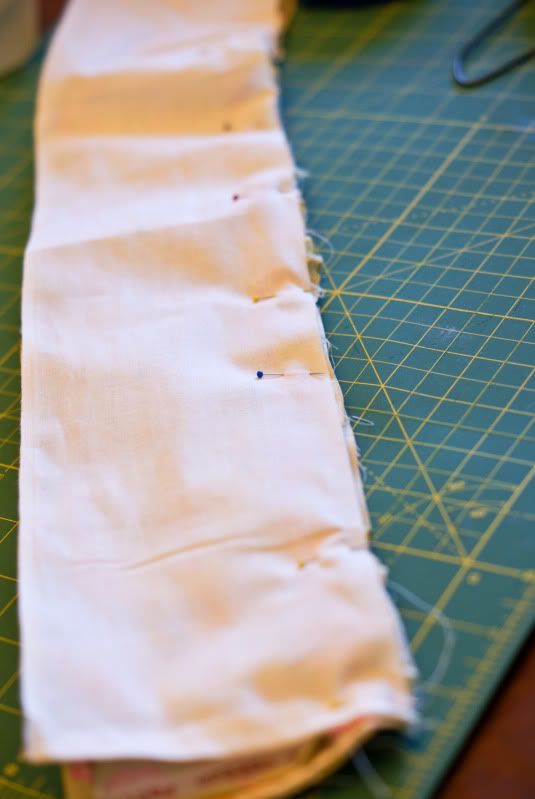
Sew down the ends of your top pocket piece and then sew down the length of the piece, creating the pocket for the curtain rod.
Sew down the ends of your long tiered pieces and then hem the bottom edge.
Sew down the ends of your white pieces and just hem that one piece. Both edges of the other three will be sewn, so leave those raw.
Now we're ready to put in our gathering stitches! Set your stitch length to the longest it will go, give yourself about a 6" tail of thread and sew a straight line 1/4" from the edge along the top of the tier. Don't backstitch! Gather your tiers by gently pulling the bobbin thread. Repeat with all four tiers.
Now we're ready to assemble the valance!
Each tier with have THREE layers. Lay your first tier on top of our pocket piece, right sides facing, raw edges aligned. Now you will need to evenly distribute your gathers along the length of the pocket piece. Lay one of your unhemmed white pieces on top of your gathered piece, sandwiching your gathered tier. Like this:
Pin very well, taking care to make sure that all three raw edges are lined up. I'm a lazy seamstress and if I can get away with not pinning, I will. You NEED to pin this one, folks.
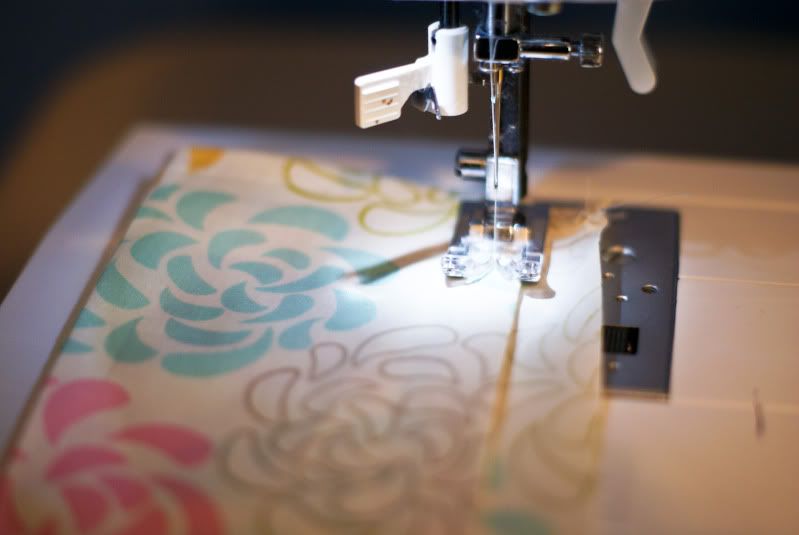
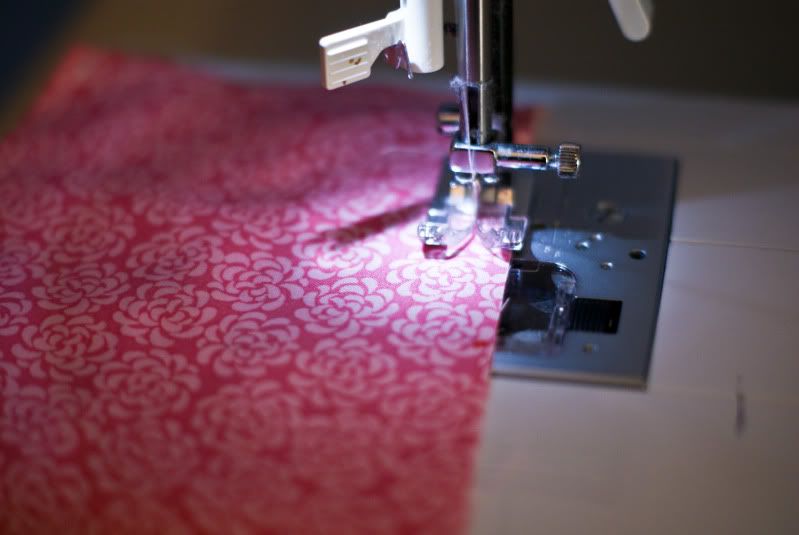
Head to your machine and using a 1/2" seam allowance, sew the three layers together.

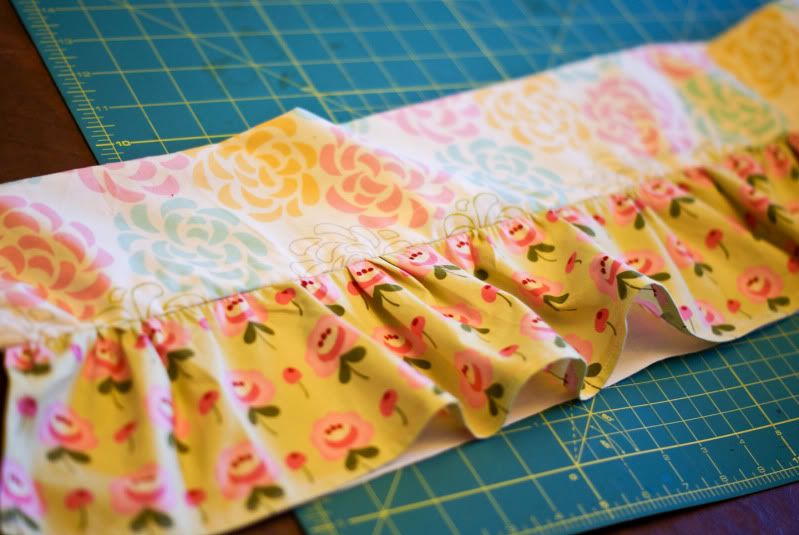
Remove pins and flip down your first tier! Remove any of the gathering stitching that may be visible and iron down. See how pretty?
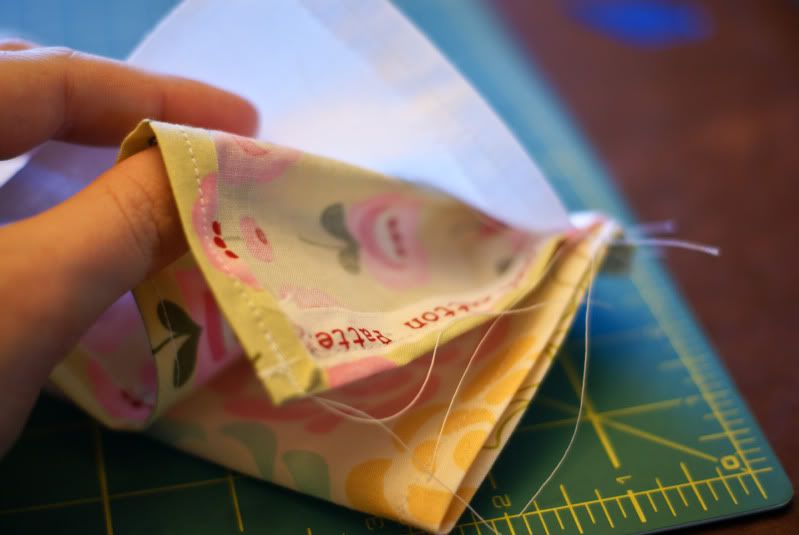
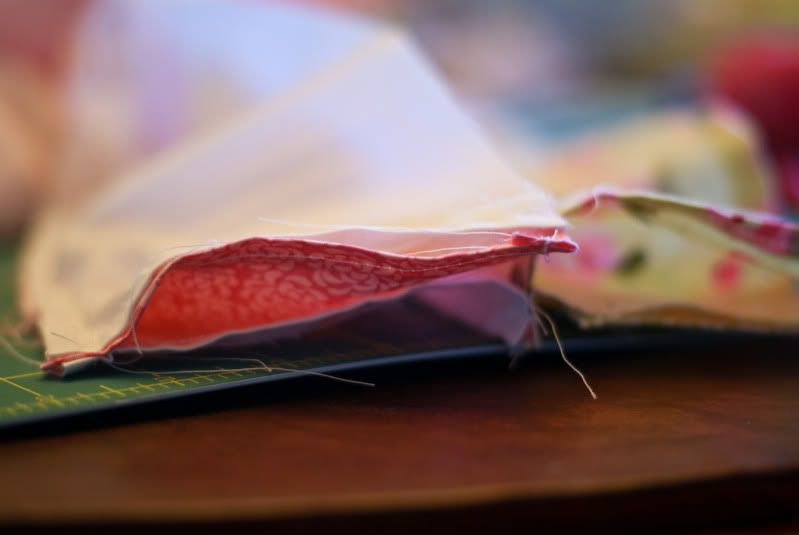
Now continue to attach the remaining tiers in the same way by flipping up the first tier and aligning the raw edge of the white lining piece (see it peeking out up there?) with the raw, gathered edge of the next tier. Distribute gathers, and then sandwich the tier with another white lining piece.
Here's a picture of my 2nd sewn tier. You can see the first tier flipped up to expose the white lining.
Clear as mud?
Use your hemmed lining piece on the bottom tier. Actually, this piece is not totally essential to the curtain, but it gives the curtain more weight and helps it lay (lie?) nicer.
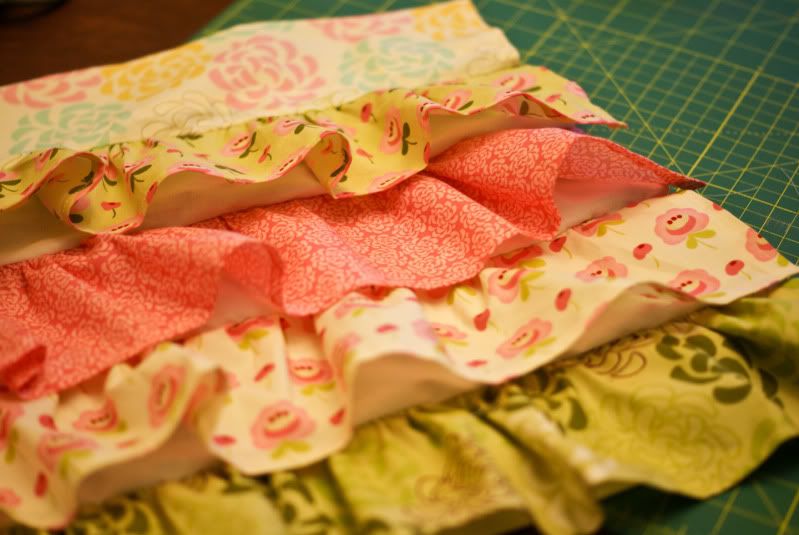
Stand back and admire your pretty, ruffled, tiered curtain!
And then make another for the other window. ;)
If you have any questions, please leave them in the comments and I'll do my best to answer them. You know, if I'm not giving birth or something. 2 weeks to D-day! Can't wait to share the baby projects I'm working on! That is...if I ever finish them.