Showing posts with label Crocheting. Show all posts

Friday, January 25, 2013

Tap, tap...anyone there?

Hello, bloggy land! Did you miss me? Wait, don't answer that.

Although I haven't blogged in 6 months (!!!), that doesn't mean I haven't been busy crafting, sewing and crocheting. In fact, quite to the contrary. The good news is that I always photograph everything I make with the intention of sharing it here, so I now have enough blog material for rest of the year. ;)

Let's dive right into it, shall we? How about a crafty Christmas wrap-up?

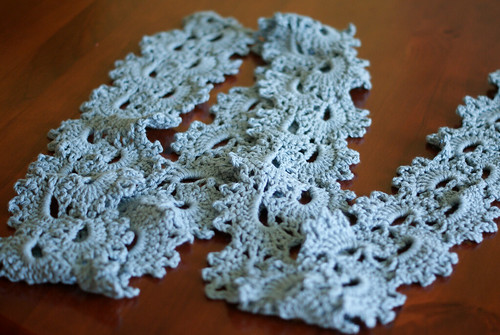
First up, a queen anne's lace scarf.  It's a little messy looking if you don't block it, but some light blocking worked wonders! I know I always say this, but I want one for me now!

 Queen Anne's lace scarf 
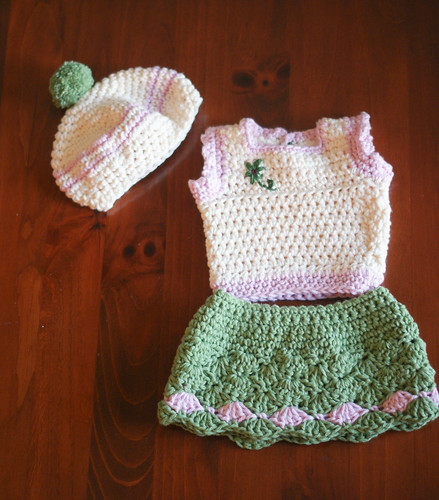
I made two of these doll sets for my sister and niece's American Girl dolls. Apparently the fit is not great, though. Guess I need to pay attention to gauge when I'm crocheting clothes!

 Doll Set 

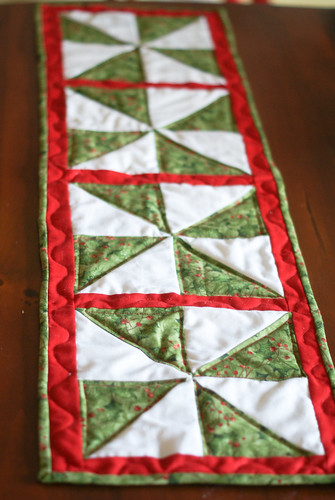
This Christmas runner was for my mother-in-law. I made another one in a different print my my mom, but forgot to take a picture.

 Pinwheel Christmas Runner 
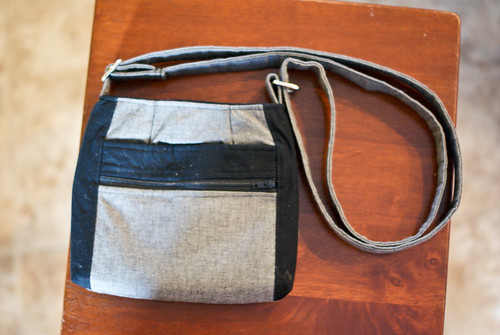
This bag was for my sister Katie. I actually bought a pattern for this one, which I rarely do, but in this case it was totally worth it. Terrible picture, but I'll definitely be making another one like this for me. I scaled the pattern down for Katie's purse, but the original pattern, the two zip hipster, can be found here

Katie's bag 
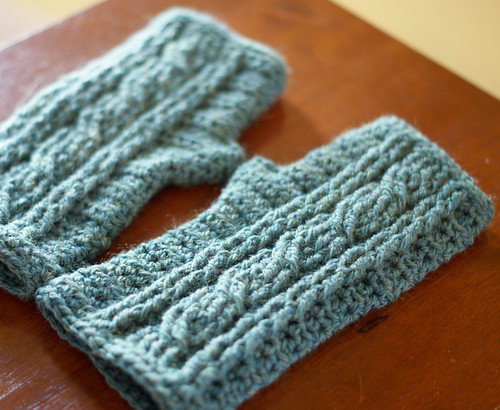
Some wool wrist warmers for my sister Hannah: 

Wool wrist warmers 
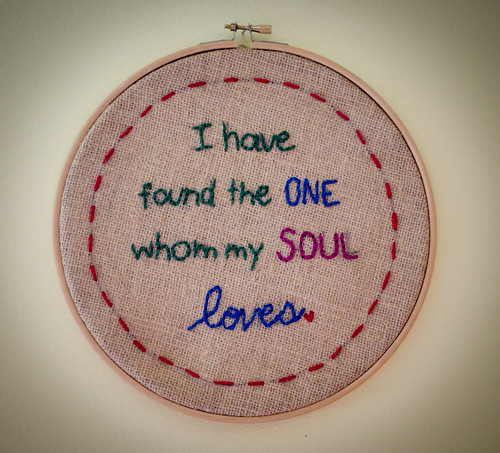
This was my first time experimenting with crocheted cables and it couldn't have been easier. This was for my sister and her almost-fiance, a quote from Song of Solomon: 

"I have found the one" embroidery 
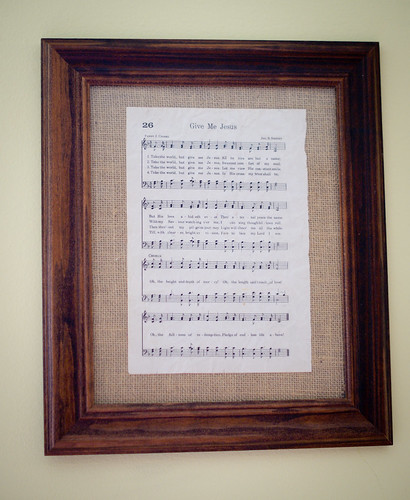
And a framed hymn for said almost-fiance (his favorite): 

Framed Hymn 

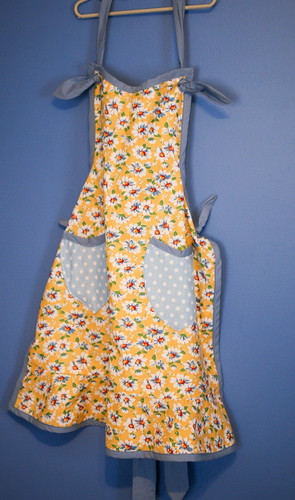
An reversible apron and matching hot pad for my sister Rosie: 

Vintage Inspired Apron
(Tutorial is here. The end result was fantastic, but it was a pain.in.the.butt.)

 Modern pinwheel pot holder 

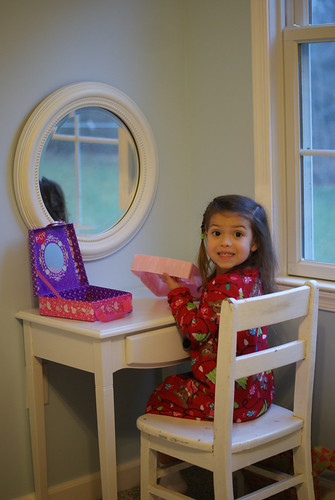
I didn't really do much homemade for the kids this year, but I did refinish a little table for Maddie to use as a vanity. She looooves it and uses it every day, so that was a win!

 Maddie's vanity 

I was pretty crafty this year with my home decor this year and finally made new stockings for the four of us. But I'll wait until Christmas time to share those - no one feels very Christmassy in January! Alrighty! Signing off for what I hope is not another 6 months...

Molly

Wednesday, March 31, 2010

Fabric Easter Basket Tutorial

Just in time for Easter! I gotta tell you, I'm loving this little basket. It's crocheted using fabric, which works up really quickly, so it's a one nap project - and I'm all about one nap projects.

WHAT YOU NEED:
1 ¾ yards of fabric (this project looks best if you work with a fabric that is printed on both sides, like a cotton broadcloth)
Rotary cutter (you can use scissors, but you might end up using them on yourself by the time you’re done.)
Matching thread
Size N crochet needle
Cutting mat or old cutting board
Basic crocheting skills (this pattern uses slip stitch and single crochet)

SIZE:
This pattern will produce a basket approximately 8 inches wide and 6 inches tall, perfect for a toddler or small child. It can easily be adapted into a larger basket by adding a few stitches to the foundation round.

Lay your fabric out on your cutting mat and cut long 1” strips. These strips are going to be sewn together, so I cut my fabric longways so I’d have less seams throughout my basket.

You’ll end up with a big pile of strips. Head to your sewing machine and sew the strips together at the ends to create one long continuous strip. TIP: I didn’t cut all my fabric at the beginning of this project. I cut about 15 strips at a time, sewed them together and rolled the strip into a ball. Then I’d head back to my mat, cut some more and then keep adding to my ball of fabric. Cutting the fabric is the most tedious part of this project, so this kept me from becoming bored!


Foundation chain: Take your ball of fabric and your crochet needle and LOOSELY chain 5. I used a size N needle, but you could use a larger needle for a larger basket – but I wouldn’t recommend a smaller needle. Join fabric by inserting needle in first chain. Slip stitch.

Row 1: Crochet two SC (single crochet) in each chain around. (2 sc, 2 sc, 2 sc)
NOTE: Loose, loose, loose!

Row 2-4: Crochet one SC in first SC and two SC in next SC around. (1 sc, 2 sc, 1 sc, 2 sc)
NOTE: Do not join each round, just continue around in one continuous round.


Row 5: Crochet one SC in first SC, one SCtog in next two stitches (this is a decrease) around. (1 sc, 1sctog, 1 sc, 1sctog)

NOTE: Row 5 is the first row that decreases the stitch count, so you’re basket should start to curl up on the sides. Click here for a good tutorial on doing this.


Row 6-12: Crochet one SC in each stitch around (sc, sc, sc, sc). Slip stitch to finish.

You’re basket should look something like this:

Now turn the basket inside out, looks much better, right?


HANDLE: Without turning, crochet 1 SC in slip stitch you made at the end of row 12. Chain 20.

Join chain to the opposite side of the basket with a SC.

Crochet another SC at the base of the handle as shown in the picture below.


SC in every chain in the handle across to the other side. SC in basket to finish handle.
Weave in the ends.

Ta-da! If you want to, you can trim some of the longer strings. The basket is soft and flexible, but sturdy enough to hold it's shape.

I added a yarn flower, click here for a gazillion great crochet flower patterns, but it would also look cute with one of these or these.


More cute Easter craftiness over at Sew Dang Cute! Check it out:


Happy crafting!

Molly

Saturday, January 16, 2010

Newsgirls are here!

I've been busy developing this new style over the last month and I'm so excited that it is finally available in the shop!

I only have a few colors listed right now, but please remember that they can be custom ordered in any color.

Check it out!

As a special thank you to my Facebook fans, I'm offering a 15% rebate on all orders placed between January 16th and January 31st. Just mention that you are a facebook fan in the "notes to seller" at checkout and 15% of your total purchase price will be refunded via the paypal address you used at checkout.

Become a fan by clicking here.

Saturday, November 7, 2009

Mittens!

I've finally perfected my new mitten pattern and you can now find them in the shop!


It will take me awhile to have all the colors listed, so if you don't see the color you'd like, just ask - I love working on custom orders!

Madeline loves her red mittens. She kept pulling her hat off and holding it beside her mittens - "Mommy, TWO flowers!".